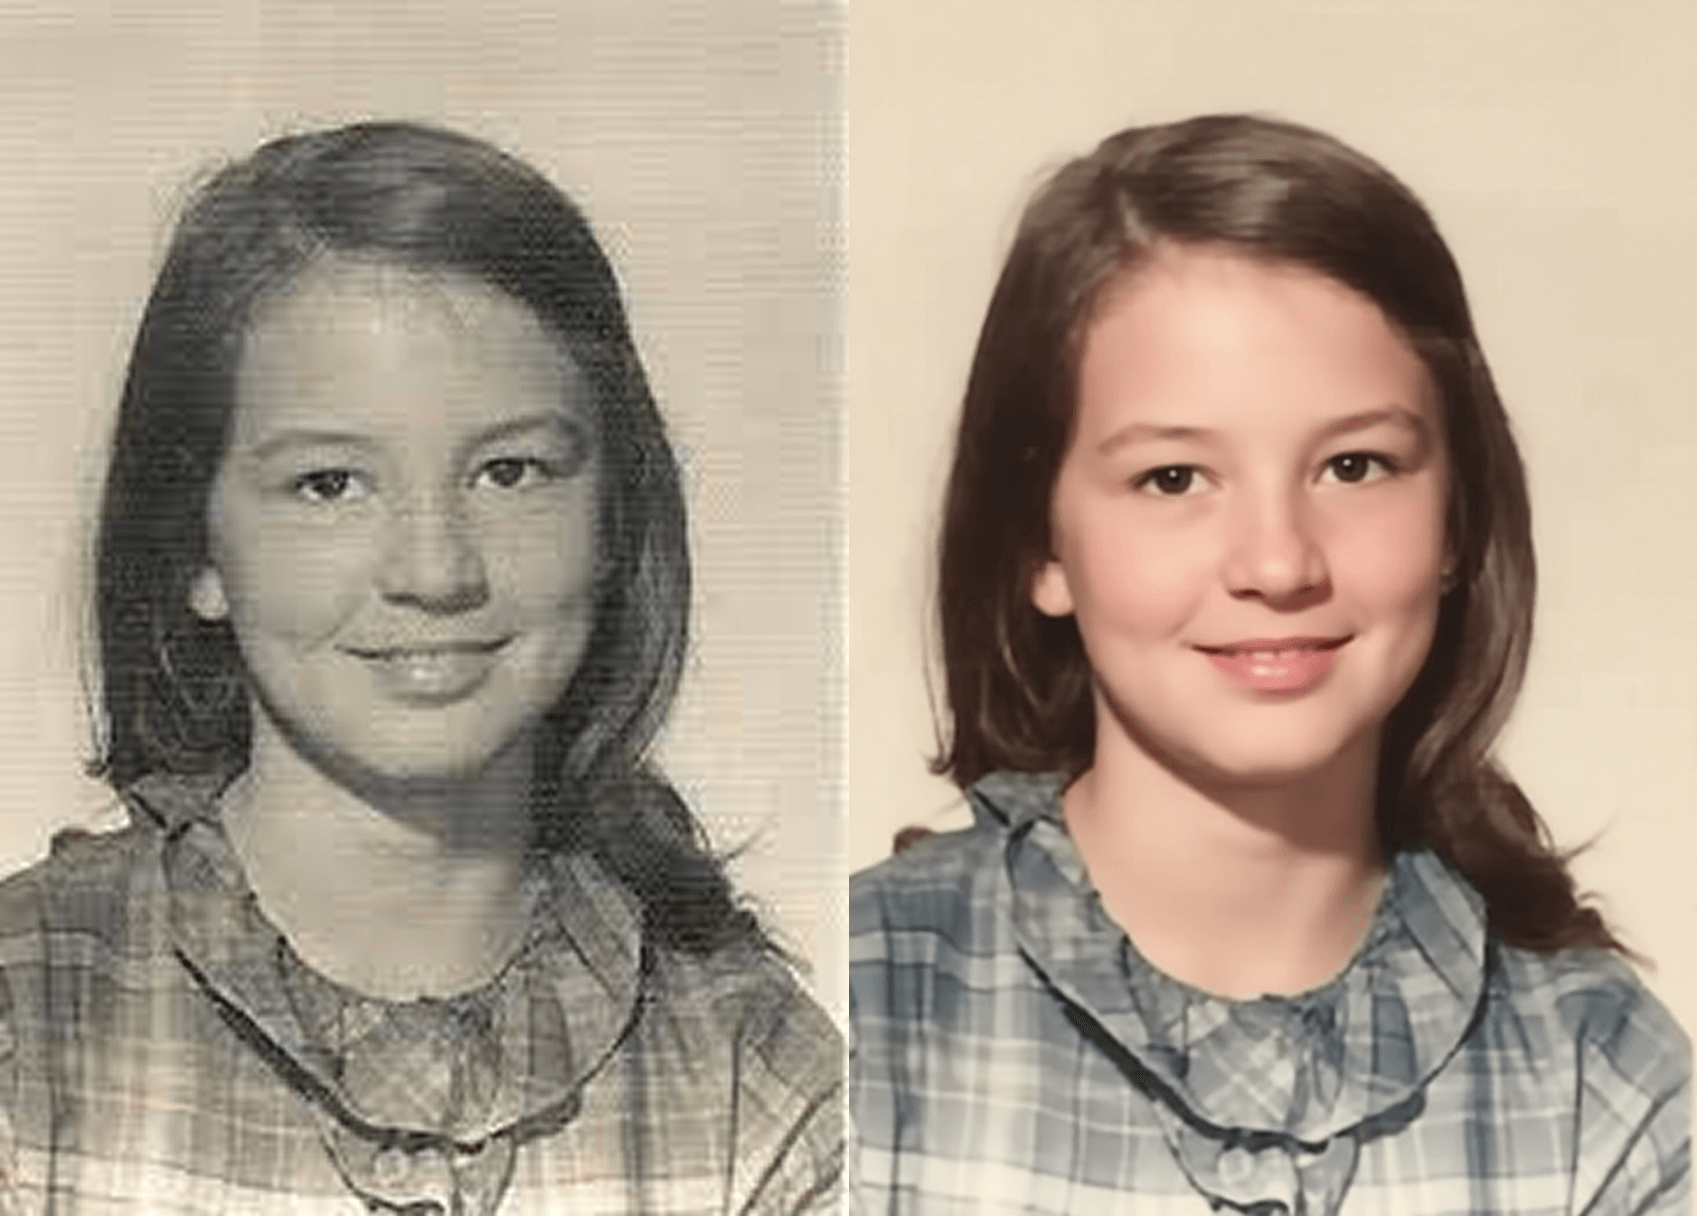
If you have a box of fading family prints, this guide shows how to restore old photos on iPhone and Android without touching desktop software. Sinaï Studio gathers upscale, repair, and color tools into one mobile AI app, so you can revive heirlooms in minutes and share them instantly with your relatives.
What you’ll get
- Checklist for scanning fragile photos so AI has clean details to enhance.
- Step-by-step workflow covering upscaling, scratch repair, inpainting, and tone recovery.
- Tips to export, archive, and share restored memories securely from your phone.
Why Sinaï Studio is your mobile restoration hub
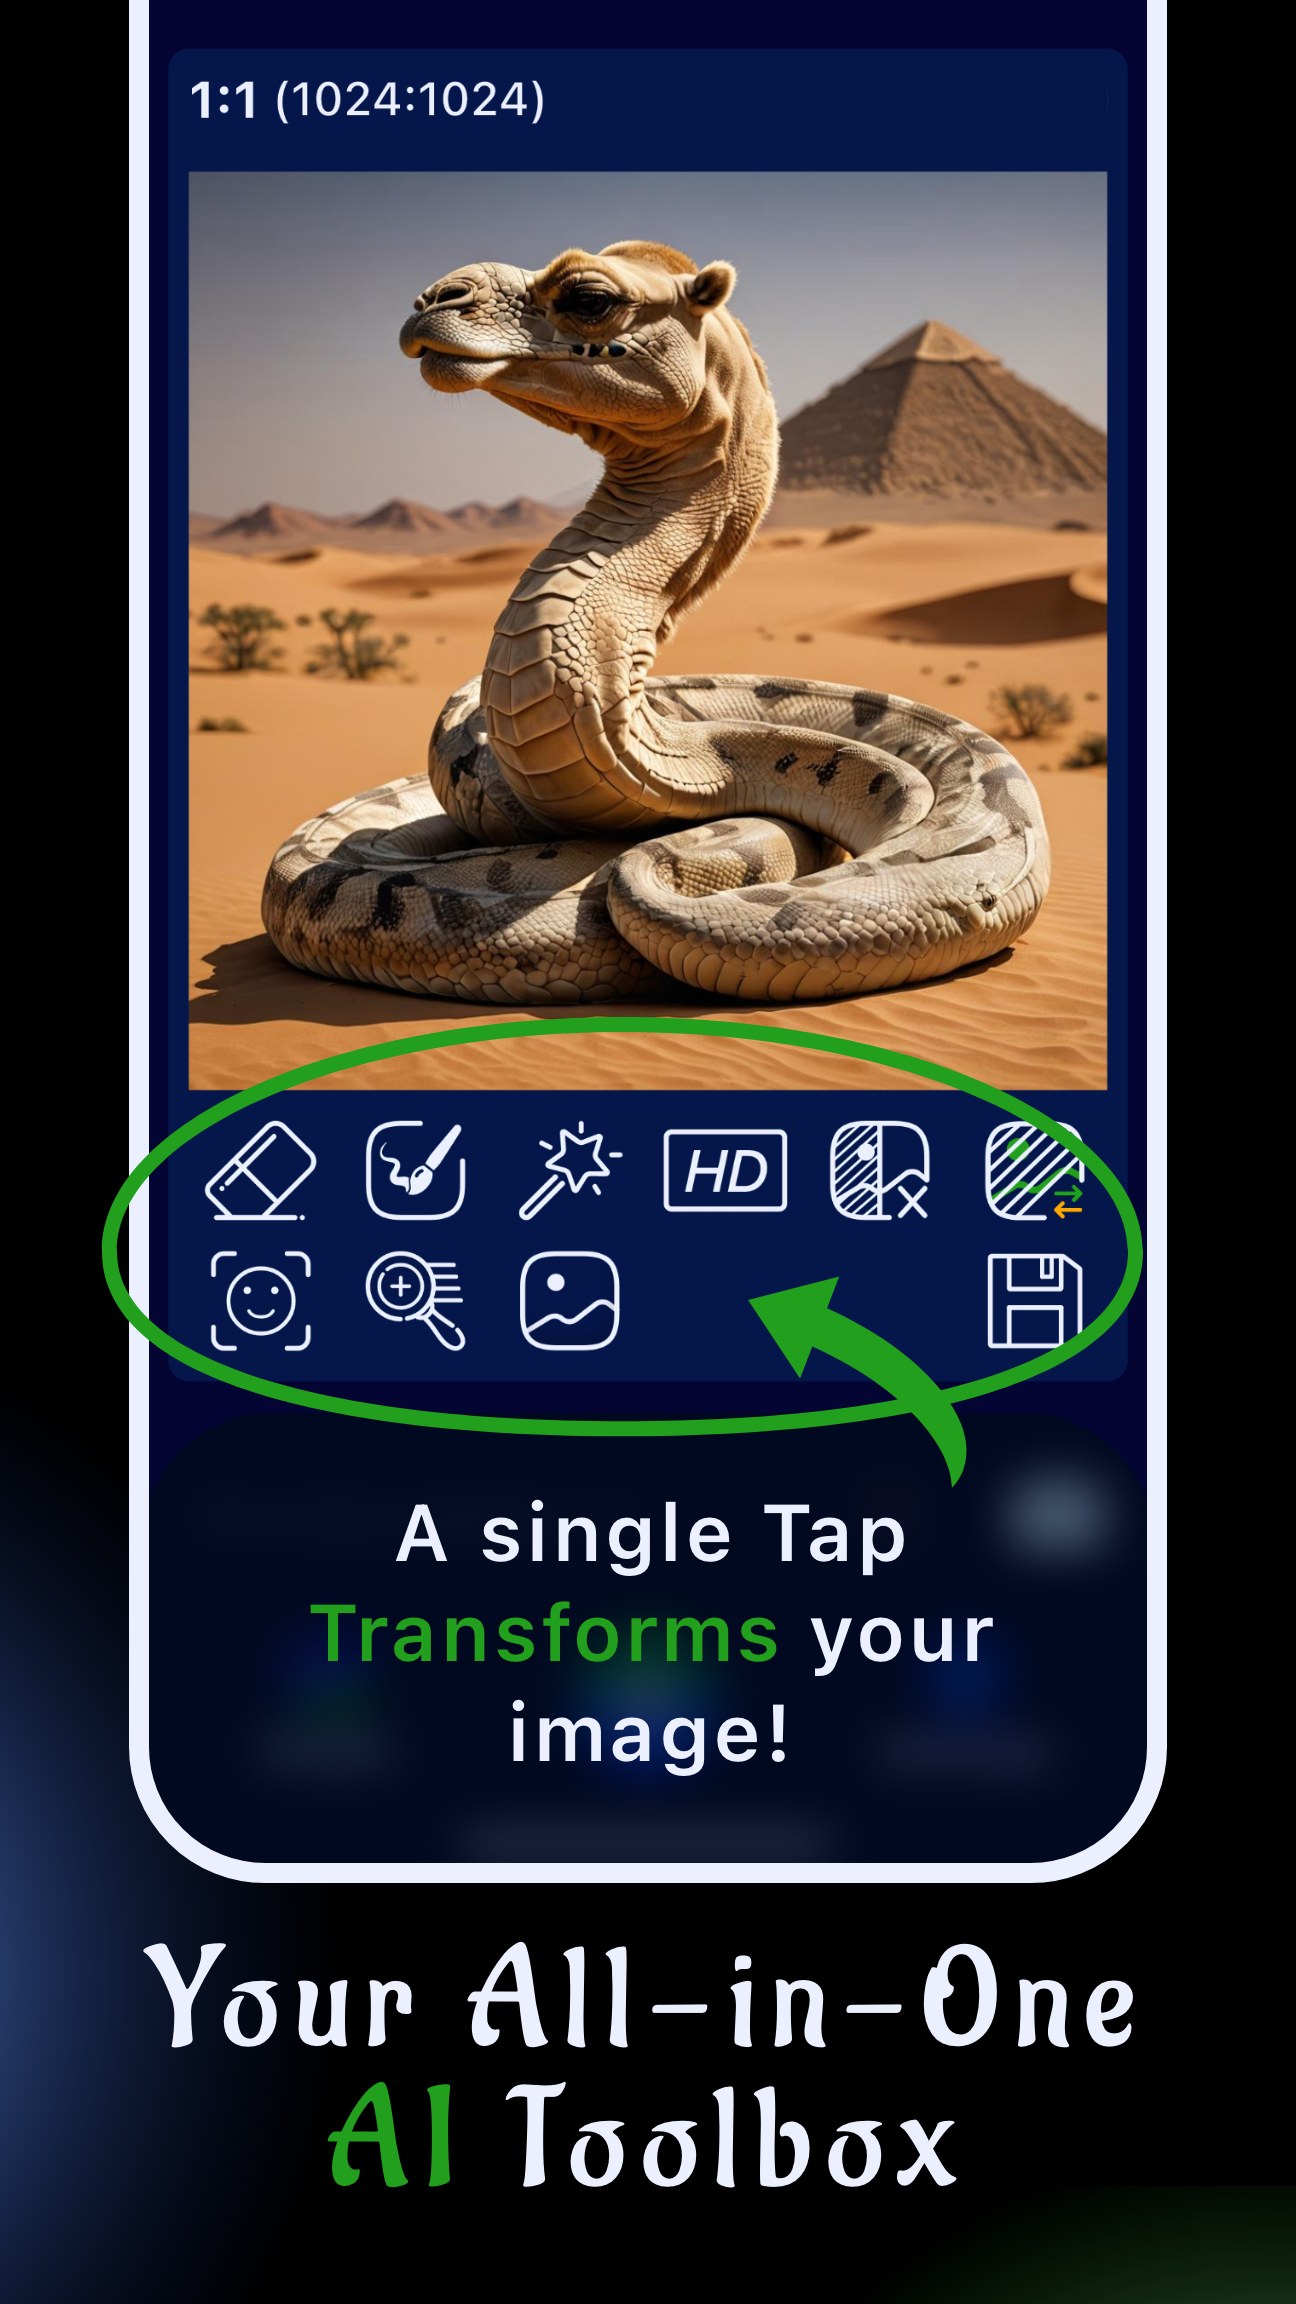
Sinaï Studio is a phone-first creative workspace combining AI automation with precise touch controls. Upscale HD quickly recovers resolution, Object Removal wipes dust and creases, Inpainting rebuilds missing areas, and the Edit button lets you steer denoising and color balance with natural language prompts. Because all edits happen locally, you can protect private family archives while taking advantage of the generous free daily edits.
Want to polish portraits even further? Pair this workflow with the AI facial expression refinement guide to keep restored smiles feeling natural.
Prep your scan for the cleanest results
- Dust the print gently with a microfiber cloth so stray particles don’t get amplified during upscaling.
- Photograph or scan at 300–600 DPI in bright, indirect light to avoid glare and harsh shadows.
- Keep the frame steady—use books or a tripod so the camera sits perfectly parallel to the print.
- Crop and rotate before importing so Sinaï Studio focuses on the image, not borders or scanner lids.
- Save as PNG or high-quality JPEG to retain tonal information for editing.
Step-by-step mobile restoration walkthrough
Follow these quick steps inside Sinaï Studio to bring archived photos back to life. Each step builds on the last, so work through them in order and save checkpoints along the way.
Import and duplicate your original
Open Sinaï Studio, tap the camera icon, and import your scanned photo. Use the three-dot menu to duplicate the project right away—keeping an untouched copy ensures you can undo any aggressive edits later.
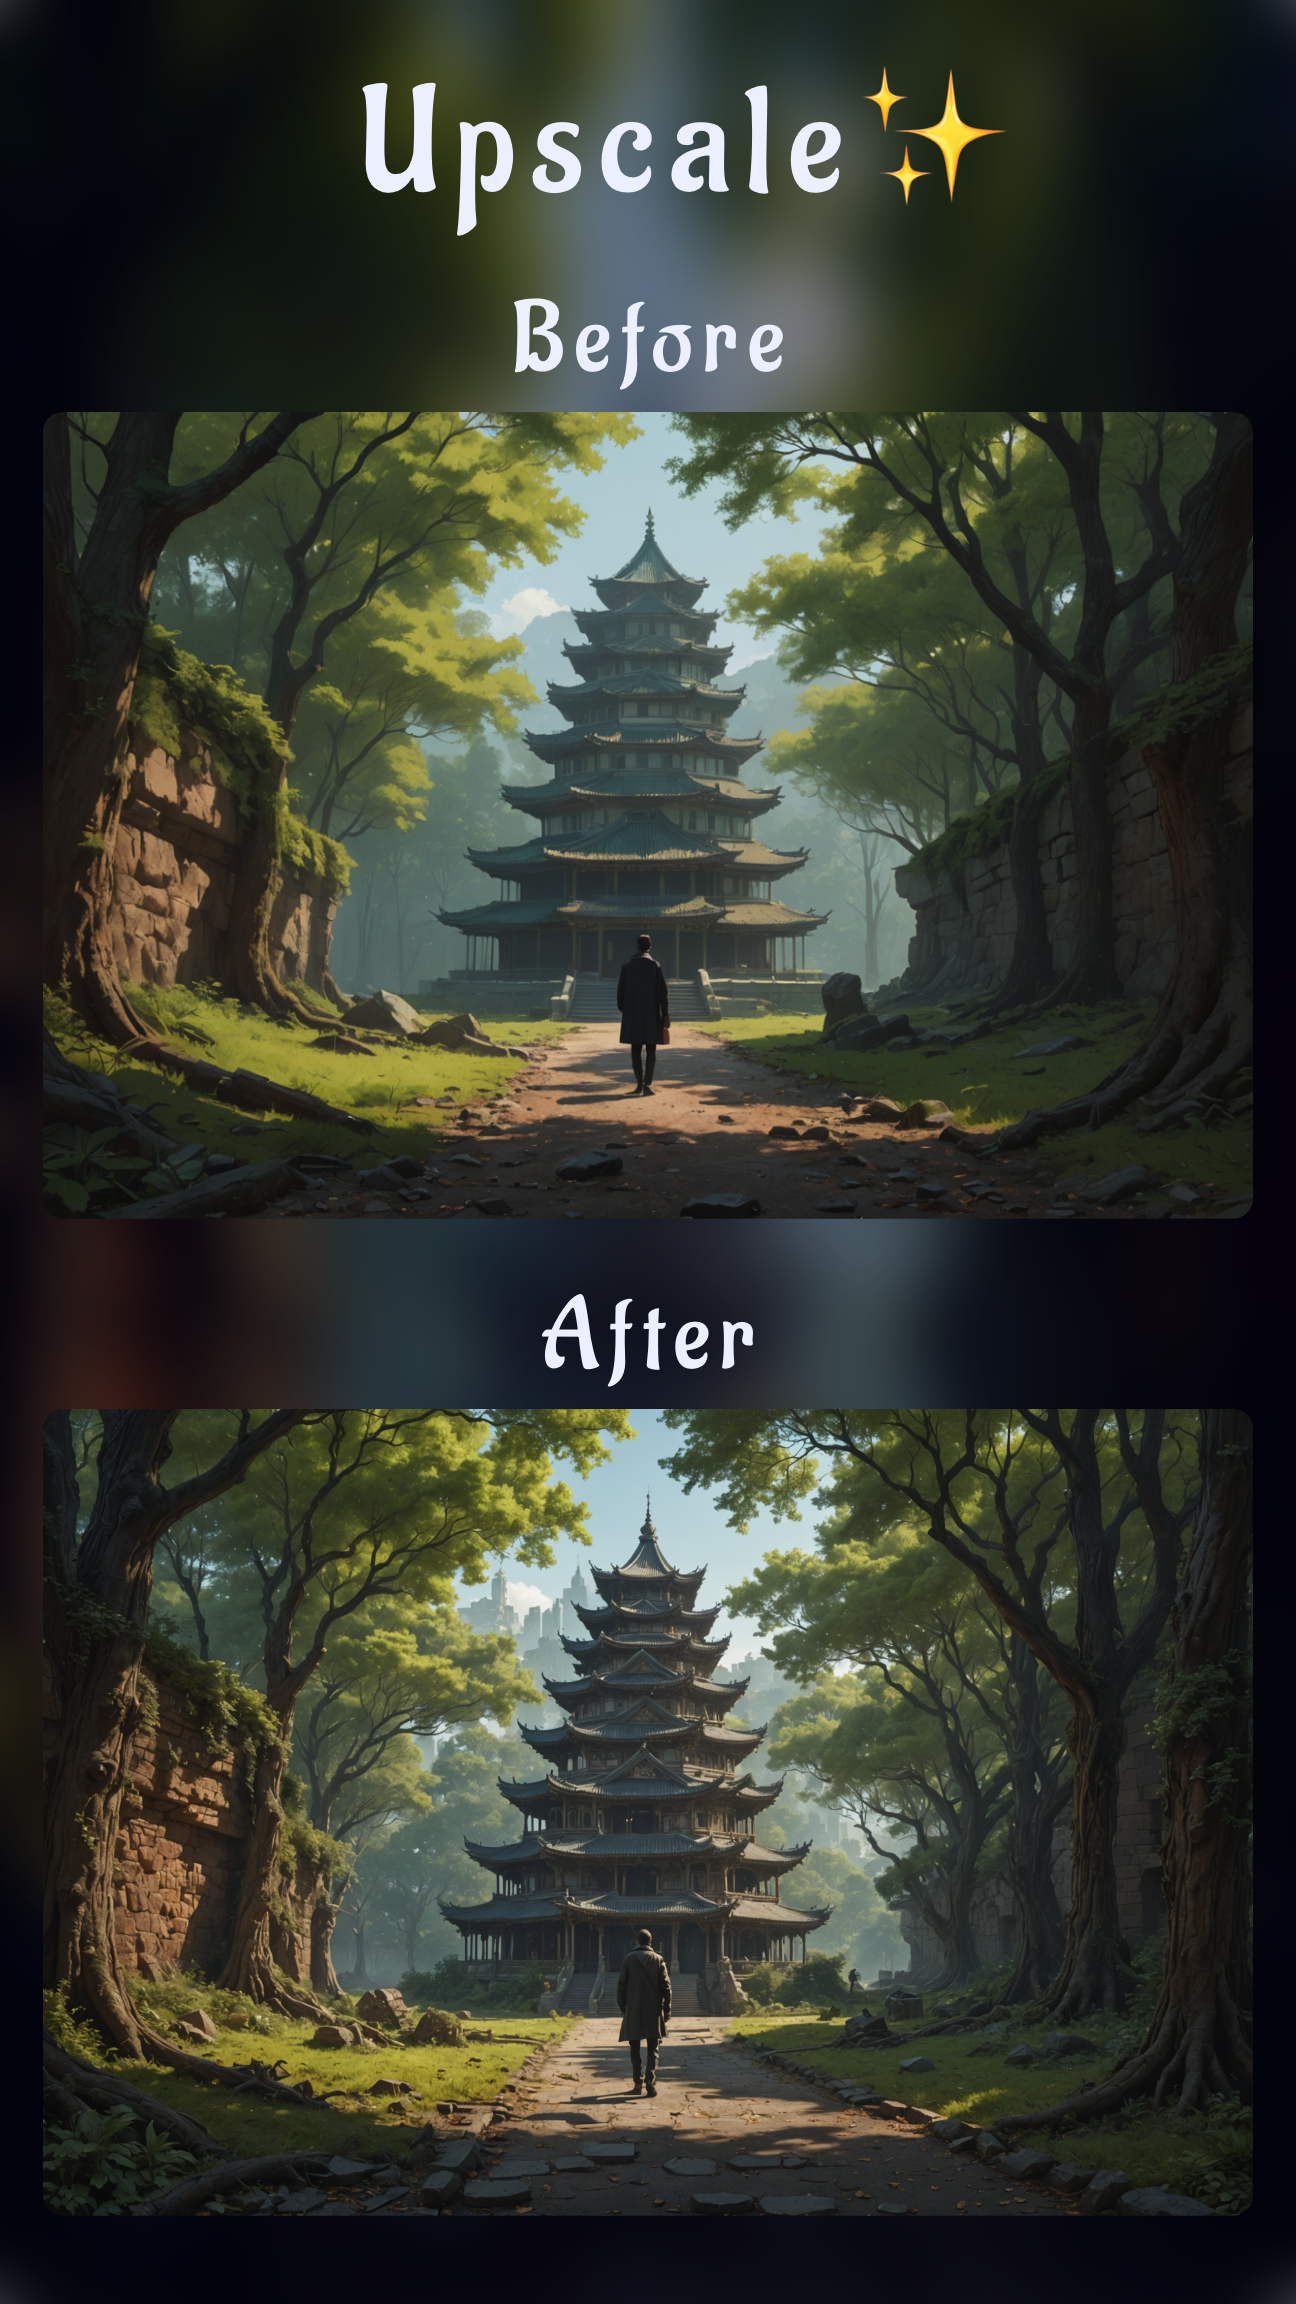
Upscale soft scans for print-ready detail
Tap 🔠 Image Upscaling (HD) to restore clarity before touching the fine details. This adds pixel depth while preserving facial features so you can confidently print larger reissues of family portraits.
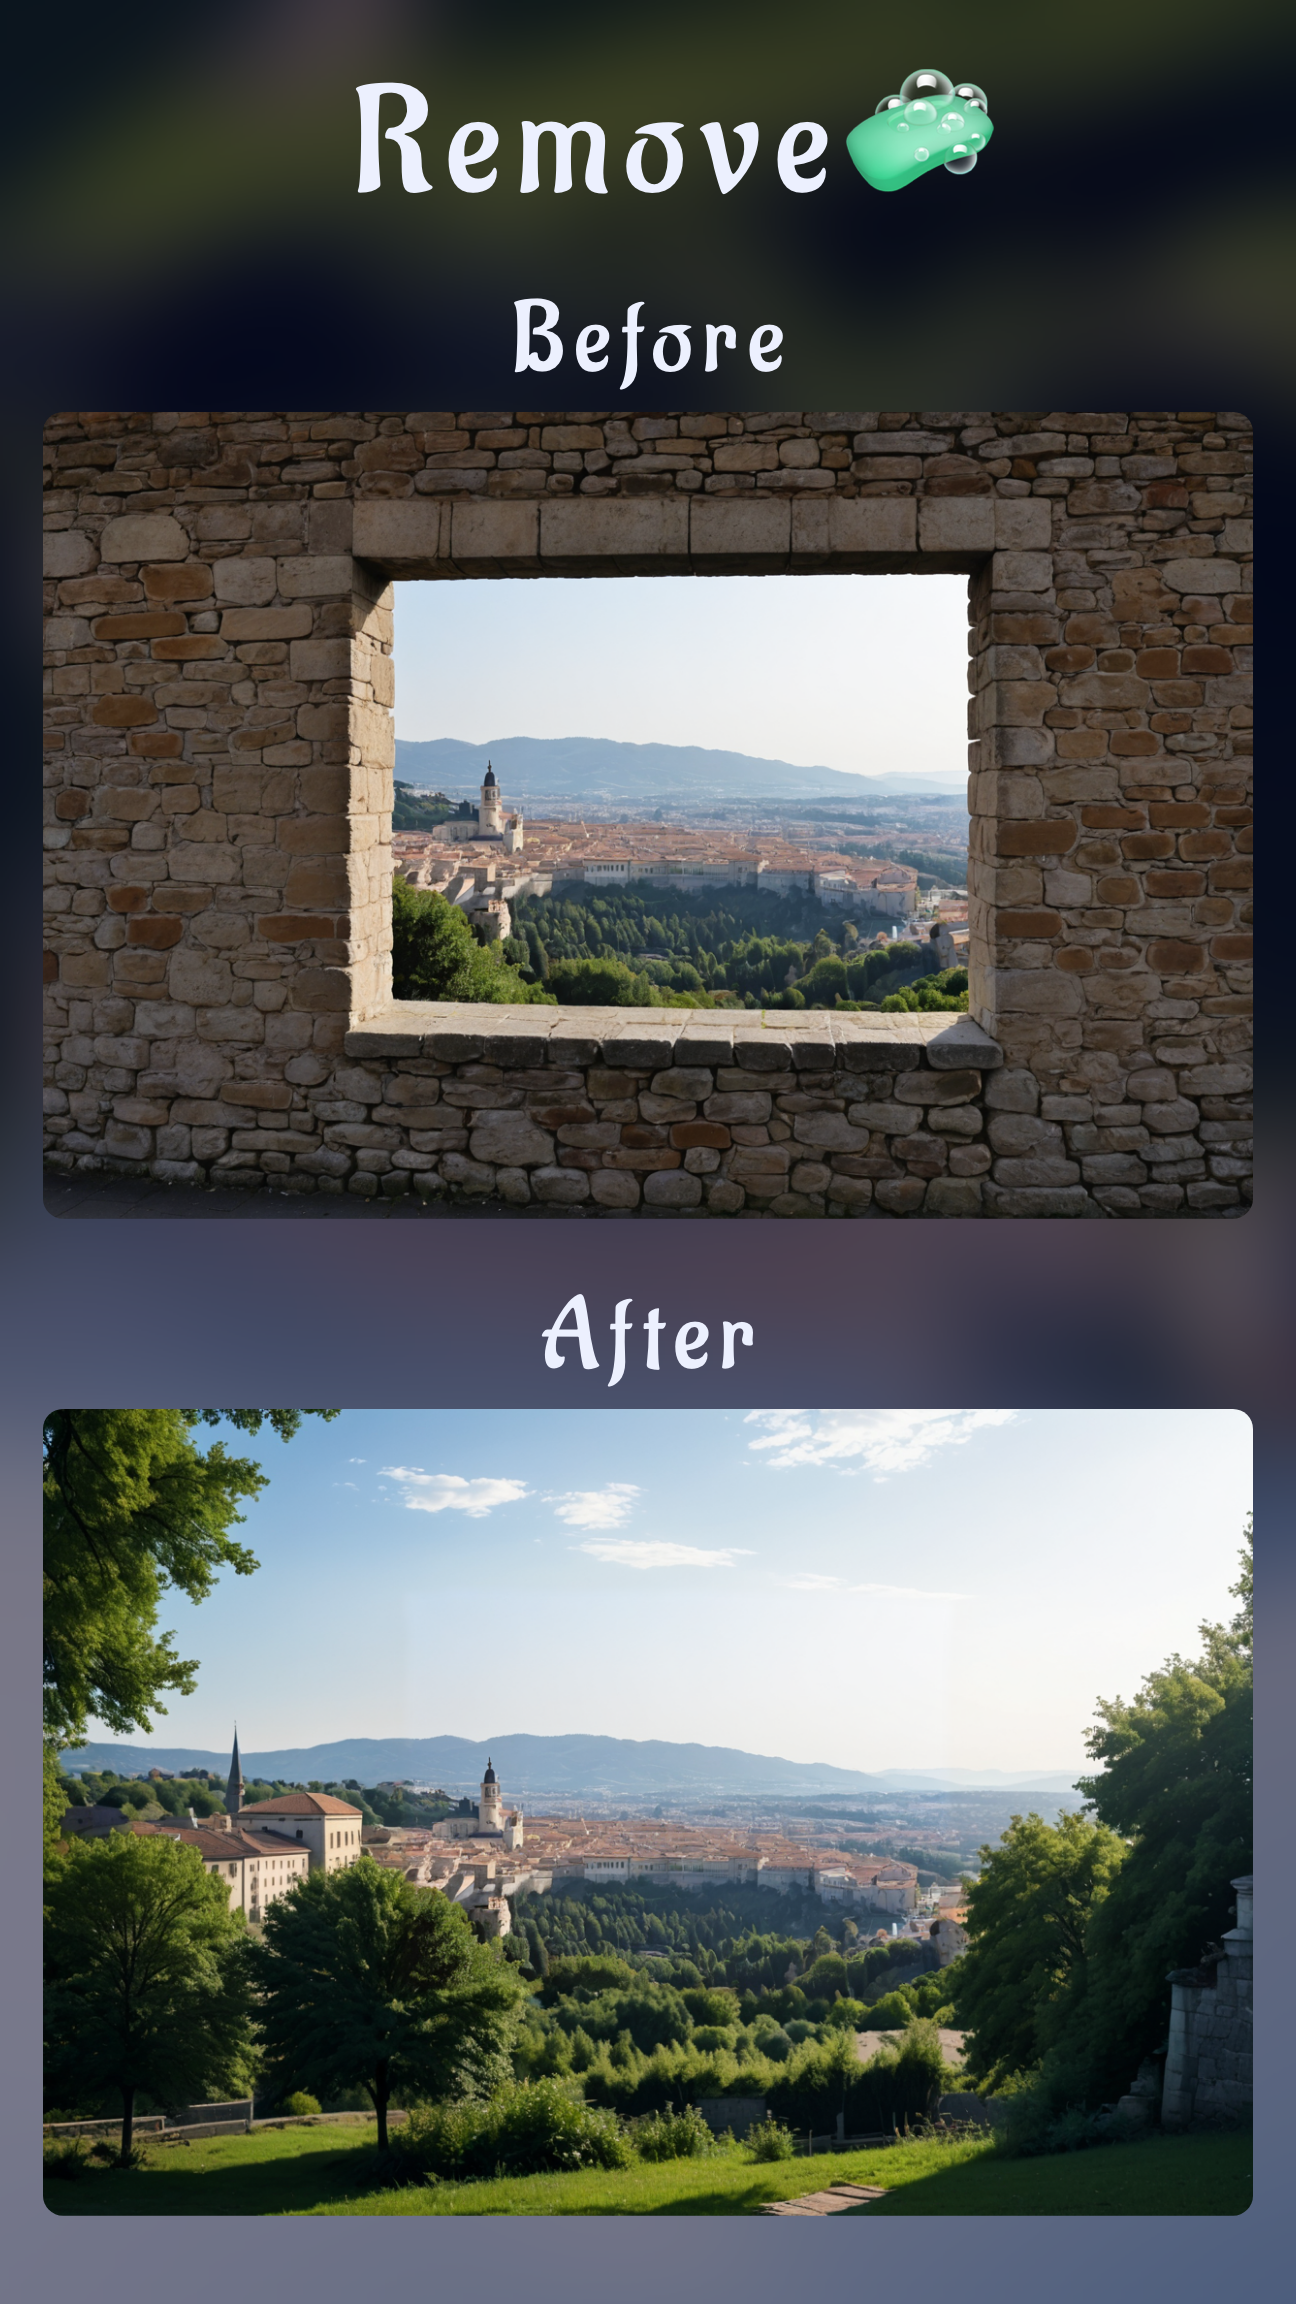
Remove scratches and tears with Object Removal
Zoom into dust, crease marks, or pen scribbles and paint over them with the 🩹 Object Removal brush. Short strokes give the AI better context, and you can re-run the brush on stubborn damage without degrading the surrounding texture.
Patch missing areas with inpainting prompts
When corners are torn or backgrounds are missing, switch to 🖌️ Inpainting. Mask the gap, tap the checkmark, and enter a precise prompt such as “restore wooden panel background” or “rebuild lace collar detail” so the AI recreates the right pattern.
Denoise and rebalance colors with Edit
Use the Edit button (Image-to-Image) to smooth film grain and repair lighting shifts. Prompts like “reduce grain, keep skin tones natural, brighten midtones” paired with a medium style intensity keep the photo true to life.
Restore tones and optional colorization
For black-and-white photos, try a prompt such as “subtle colorization with warm skin tones and soft navy suit” to add life without over-saturating. If you prefer classic monochrome, simply adjust exposure and contrast to maintain authentic tones.
Export and share safely from Sinaï Studio
Tap 💾 Save to store the project in your Studio gallery, then export to your camera roll at full resolution. Share via a private family album or back up to cloud storage so relatives can access the refreshed memories instantly.
Pro tips to keep restorations natural
- Work zoomed-in and out. Alternate perspectives to spot blurry halos or pattern repeats that give away AI edits.
- Layer subtle prompts. Instead of one heavy-handed command, chain shorter requests so lighting, grain, and expressions evolve gradually.
- Refine faces last. Use 🔍 Detailer for eyes and smiles after global fixes, then compare against your reference copy.
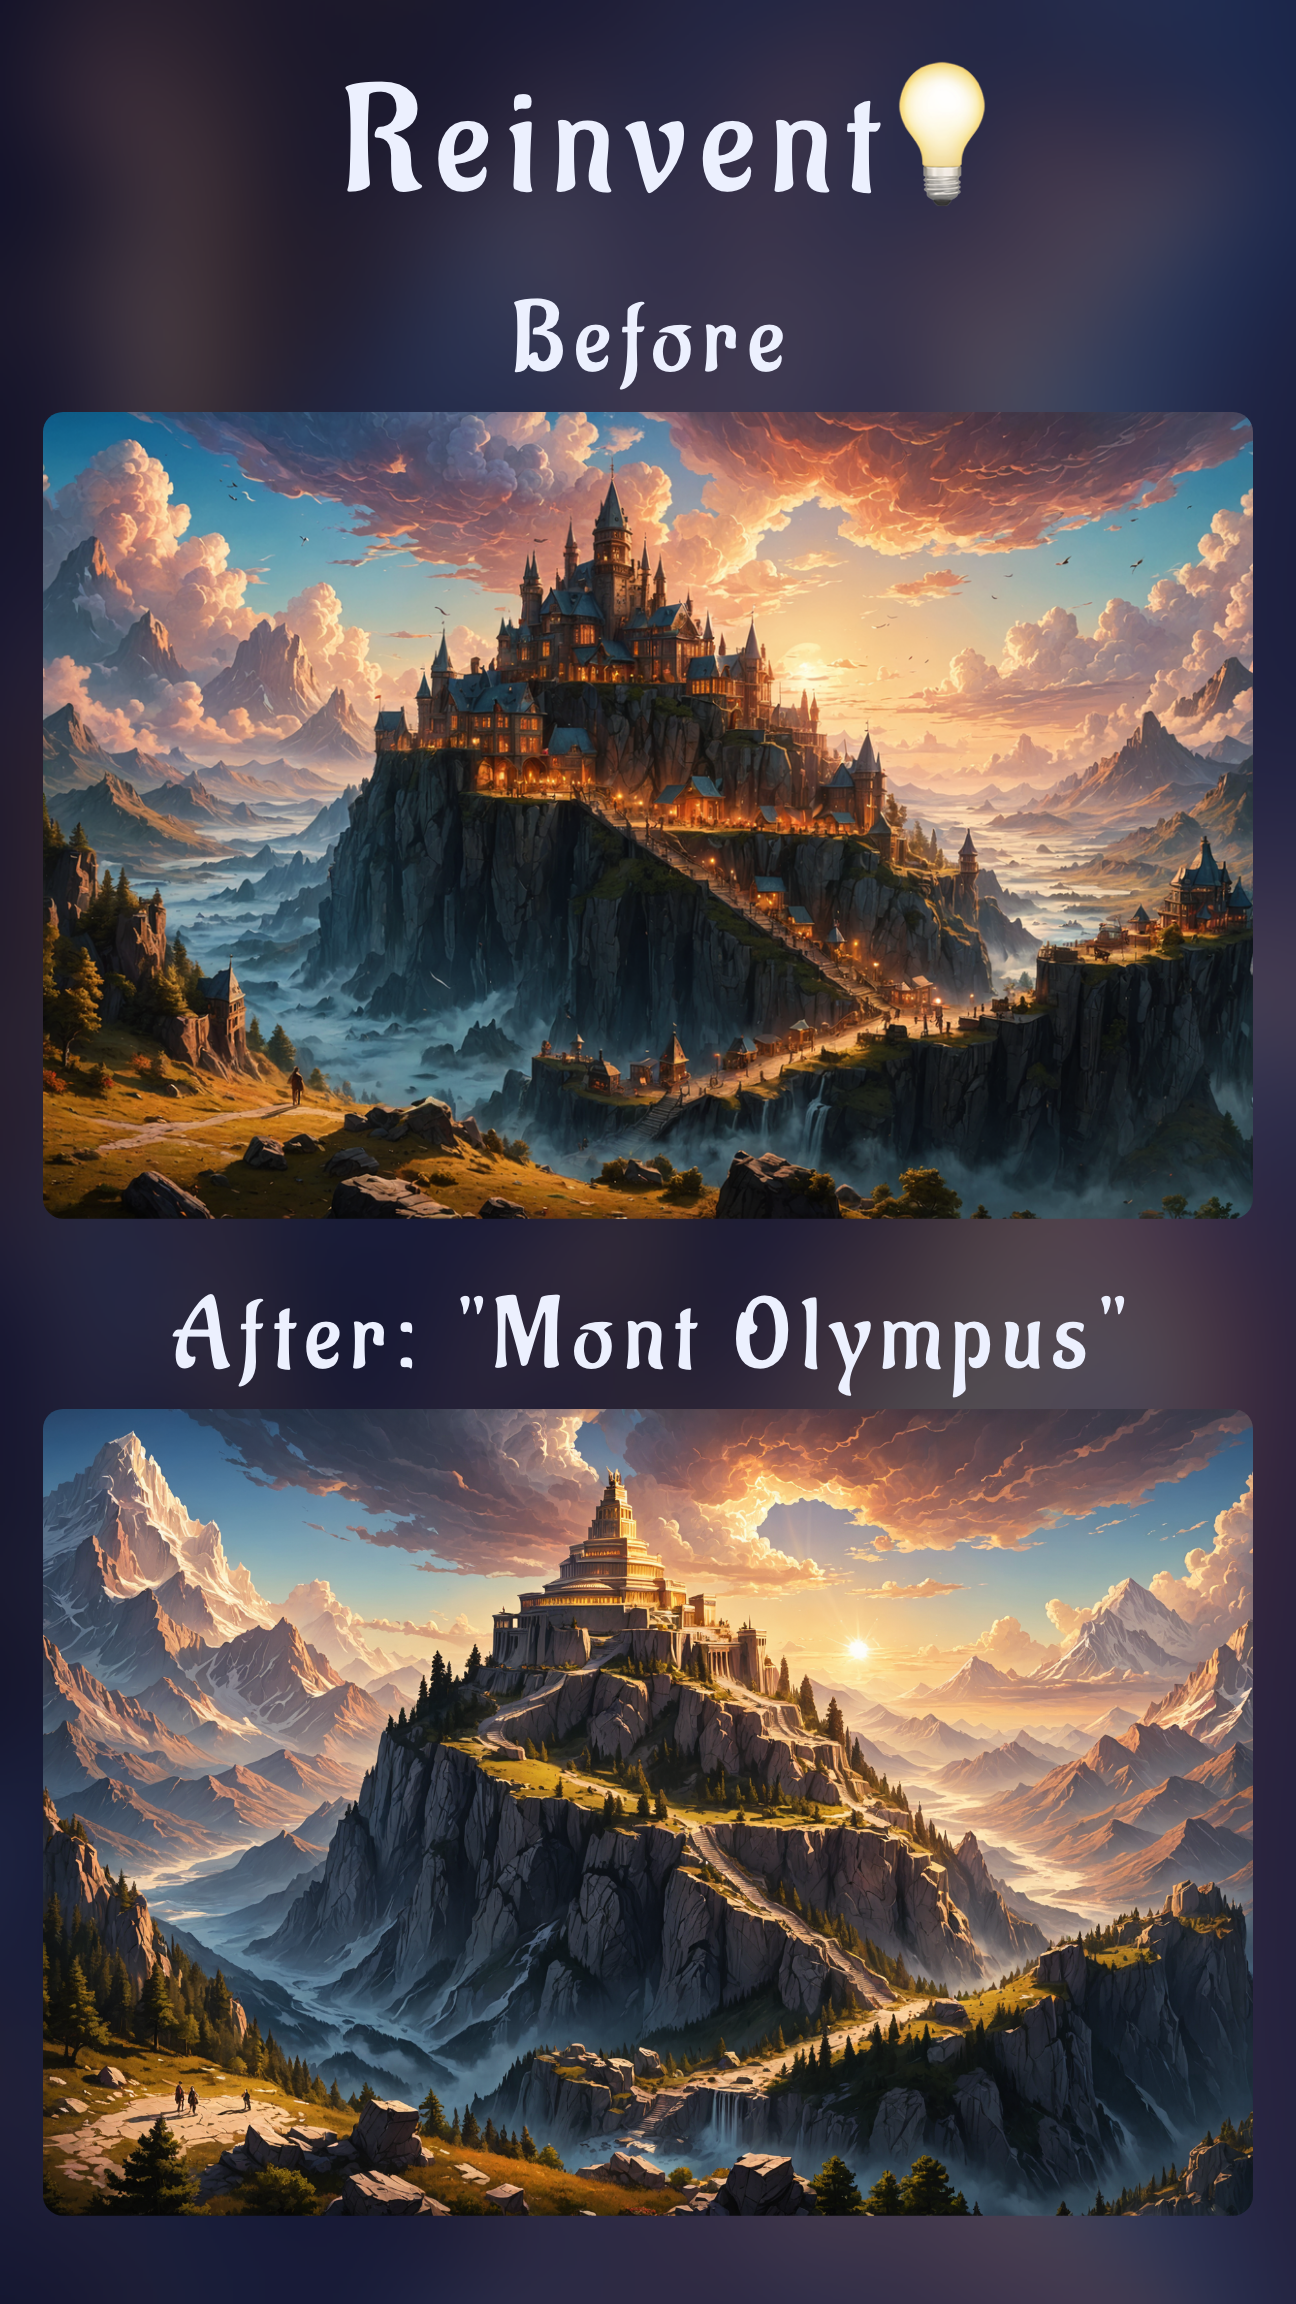
- Explore creative follow-ups. Once restored, try advanced looks with the background swap tutorial or turn portraits into art with the isometric illustration guide.