If you need to pixelate part of an image without degrading the entire photo, Sinaï Studio gives you a precise mobile workflow. The app keeps the original quality intact, lets you target only the sensitive area, and exports HD results you can share right away.
Sinaï Studio’s mobile-first AI editor combines masking, prompts, and refiners in one screen. Designers, marketers, and anyone handling user-generated content can quickly obscure faces, ID numbers, or screens before posting.
What you’ll get
- A reliable method to pixelate only part of a photo on iPhone or Android in minutes.
- Prompt formulas for Inpainting, Refiner, and Image-to-Image edits that keep your brand’s aesthetic intact.
- Export settings that preserve crisp mosaic blocks for social posts, press kits, or product shots.
Why pixelate part of an image instead of blurring everything
Pixelating specific regions protects privacy while keeping the rest of the composition useful. Whether you’re hiding a client’s address on a package shot or anonymizing a bystander, selective edits keep marketing assets on-brand. It’s the same selective approach you’d use when creating a selective color photo—only here the mosaic blocks communicate “redacted” clearly.
- Compliance ready: Quickly mask names, faces, and dashboards before sending pitches or publishing case studies.
- Consistent storytelling: Pixelation preserves context, unlike aggressive cropping that can break compositions built for campaigns.
- Mobile speed: Running the workflow in Sinaï Studio on your phone means you can finish edits on set, at events, or while a teammate reviews drafts.
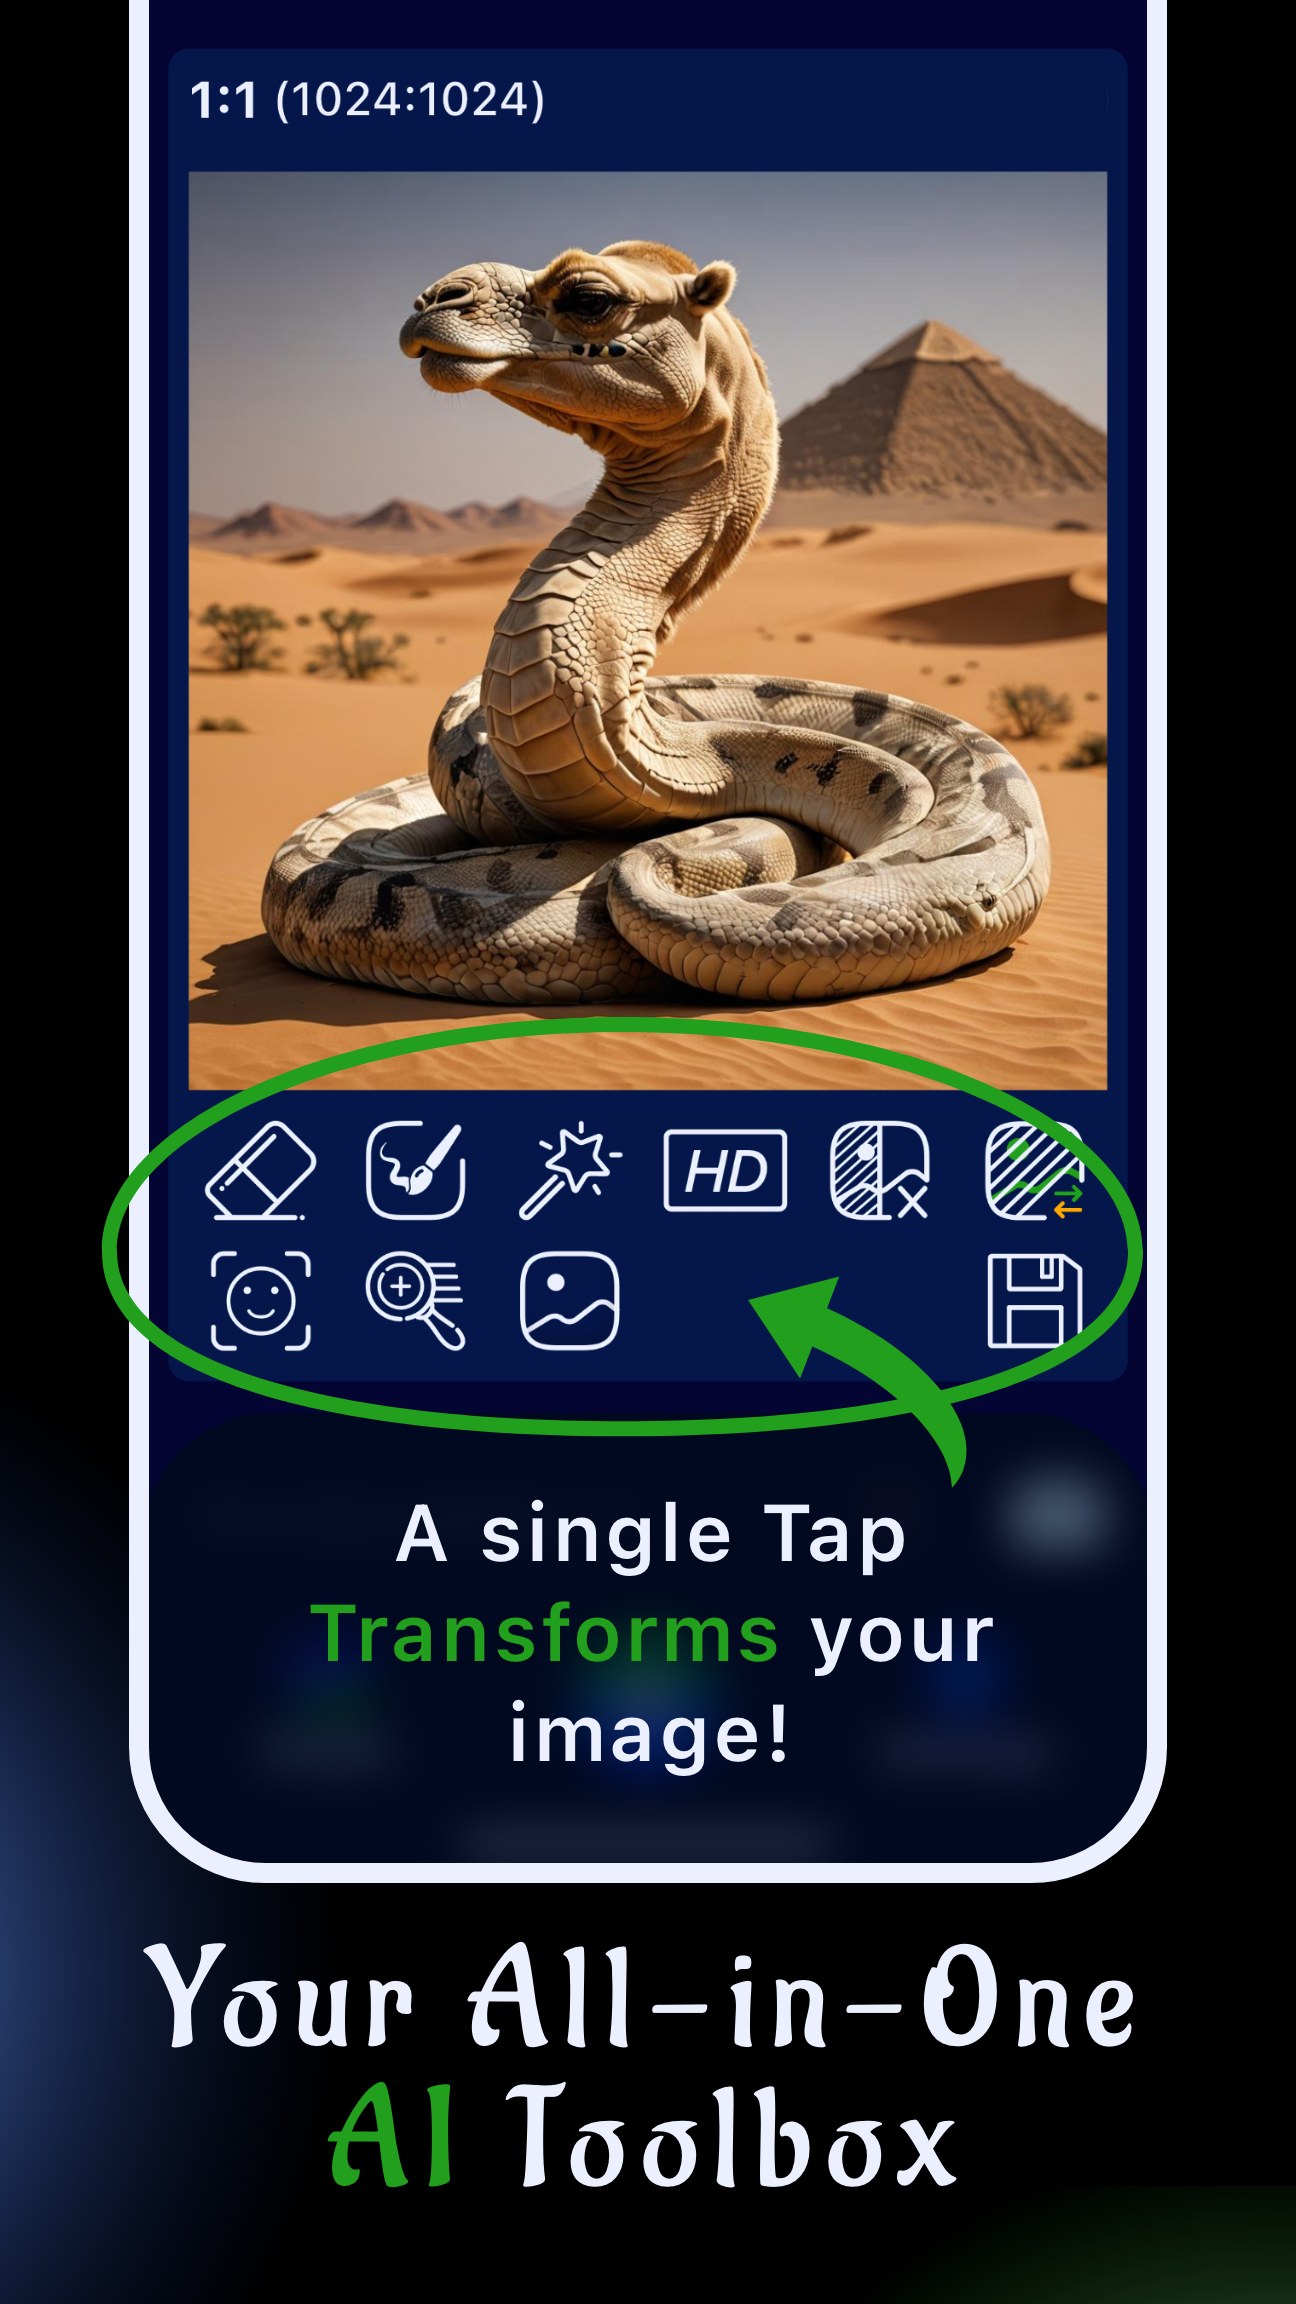
Sinaï Studio tools that make pixelation precise
Sinaï Studio balances automation with control so you never lose sight of the details that matter. Every project keeps your edit history, prompts, and exports synced across devices.
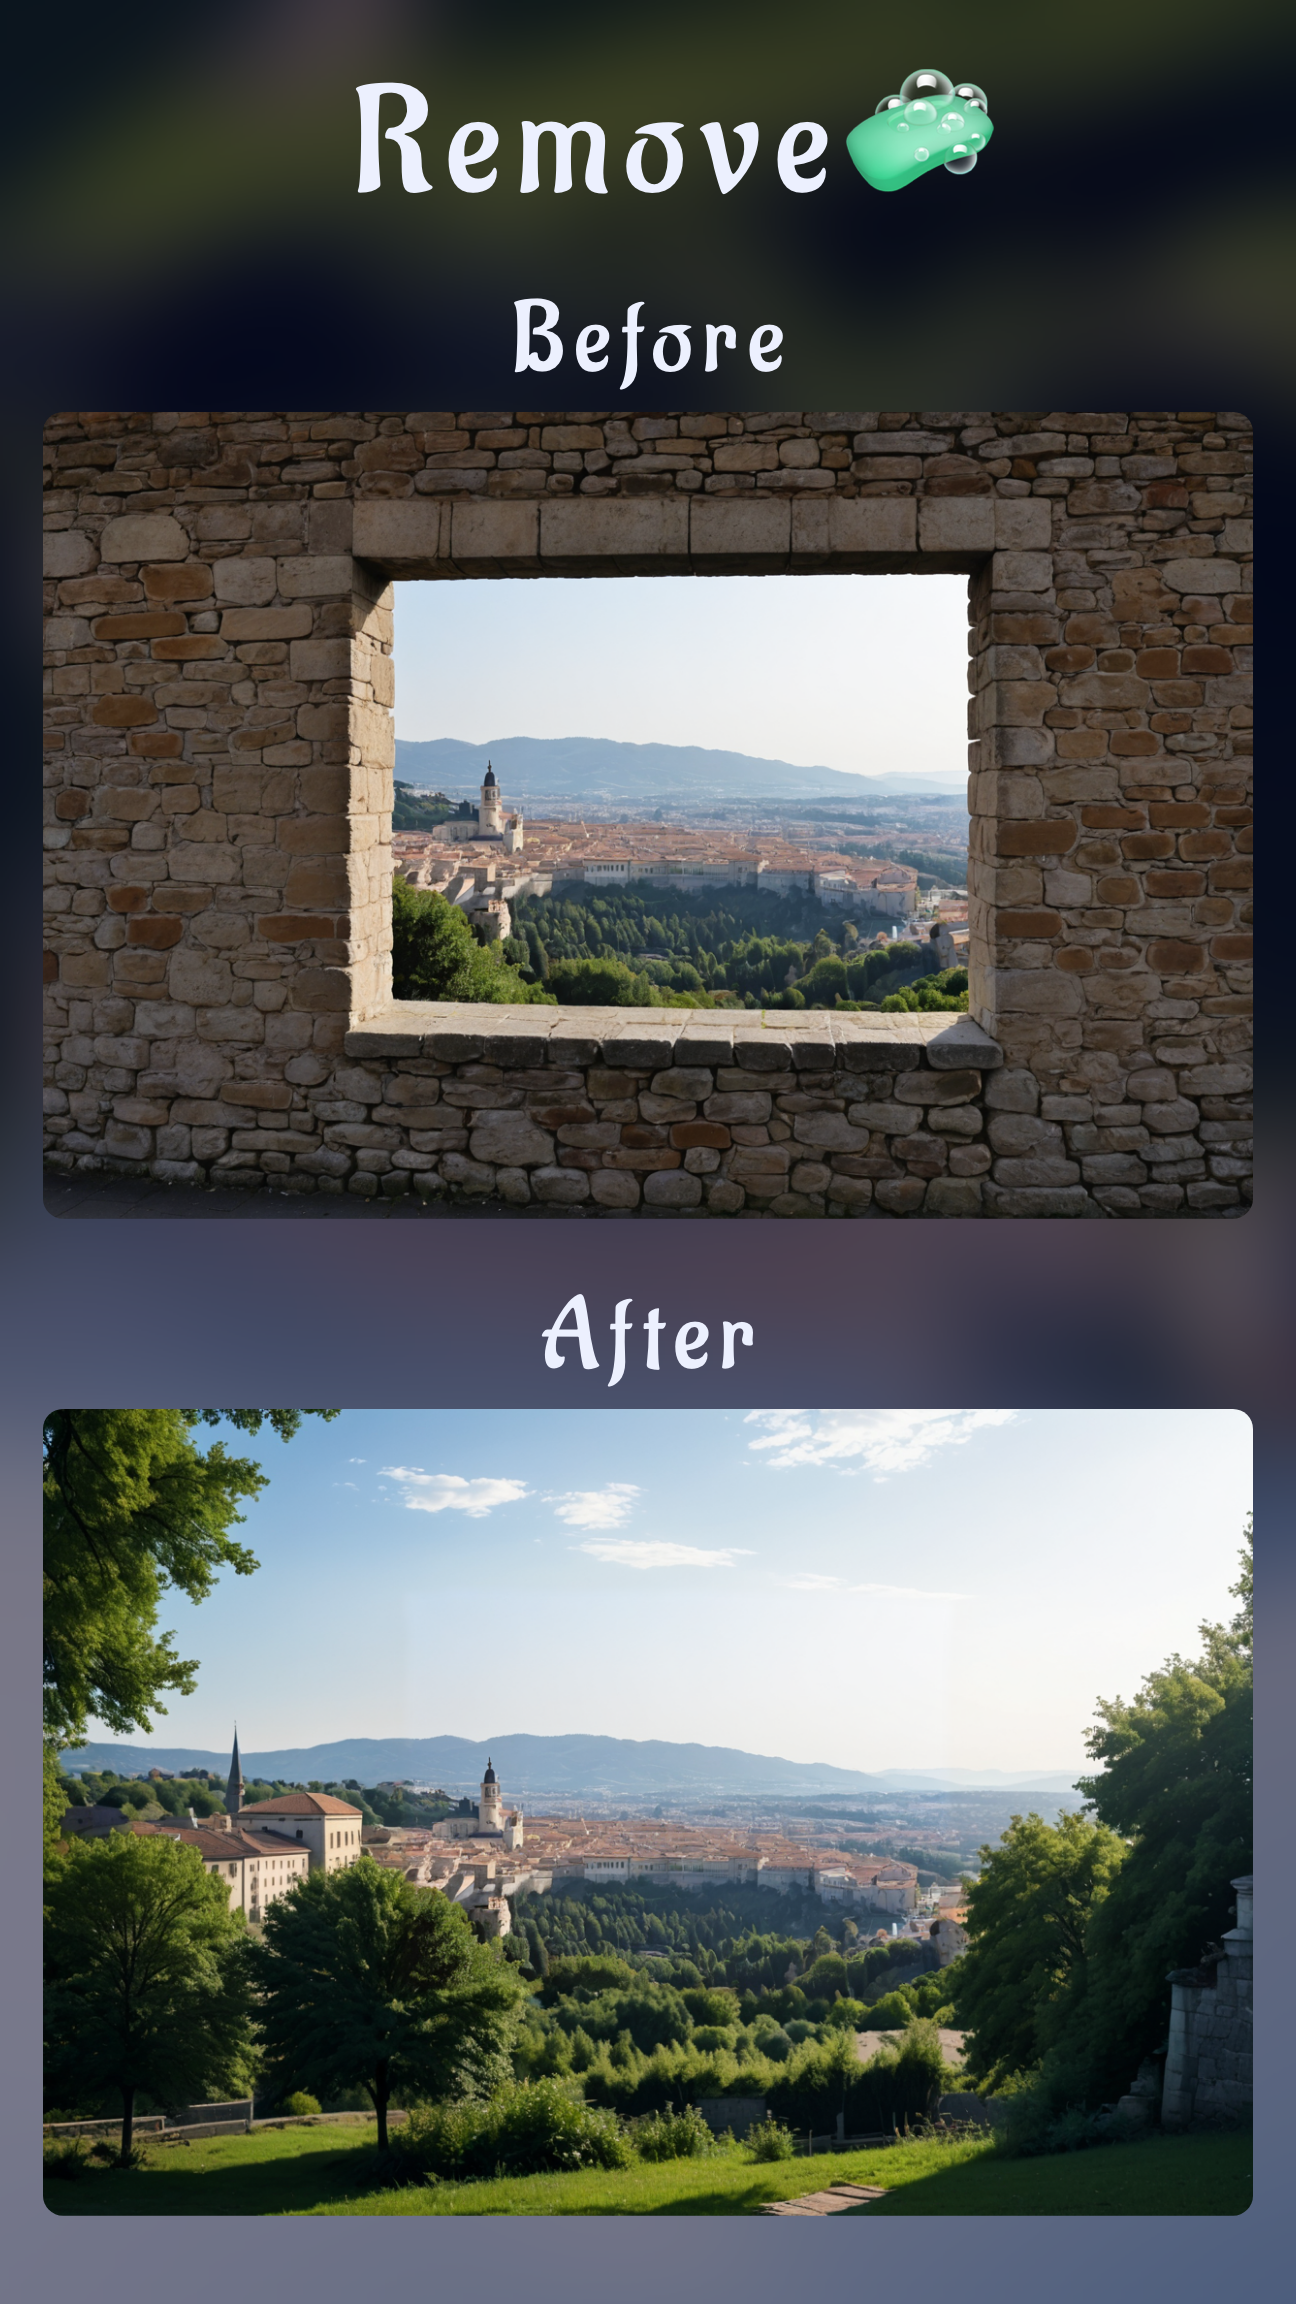
- Inpainting: Mask anything—from number plates to product labels—and tell the AI exactly how to pixelate the selection.
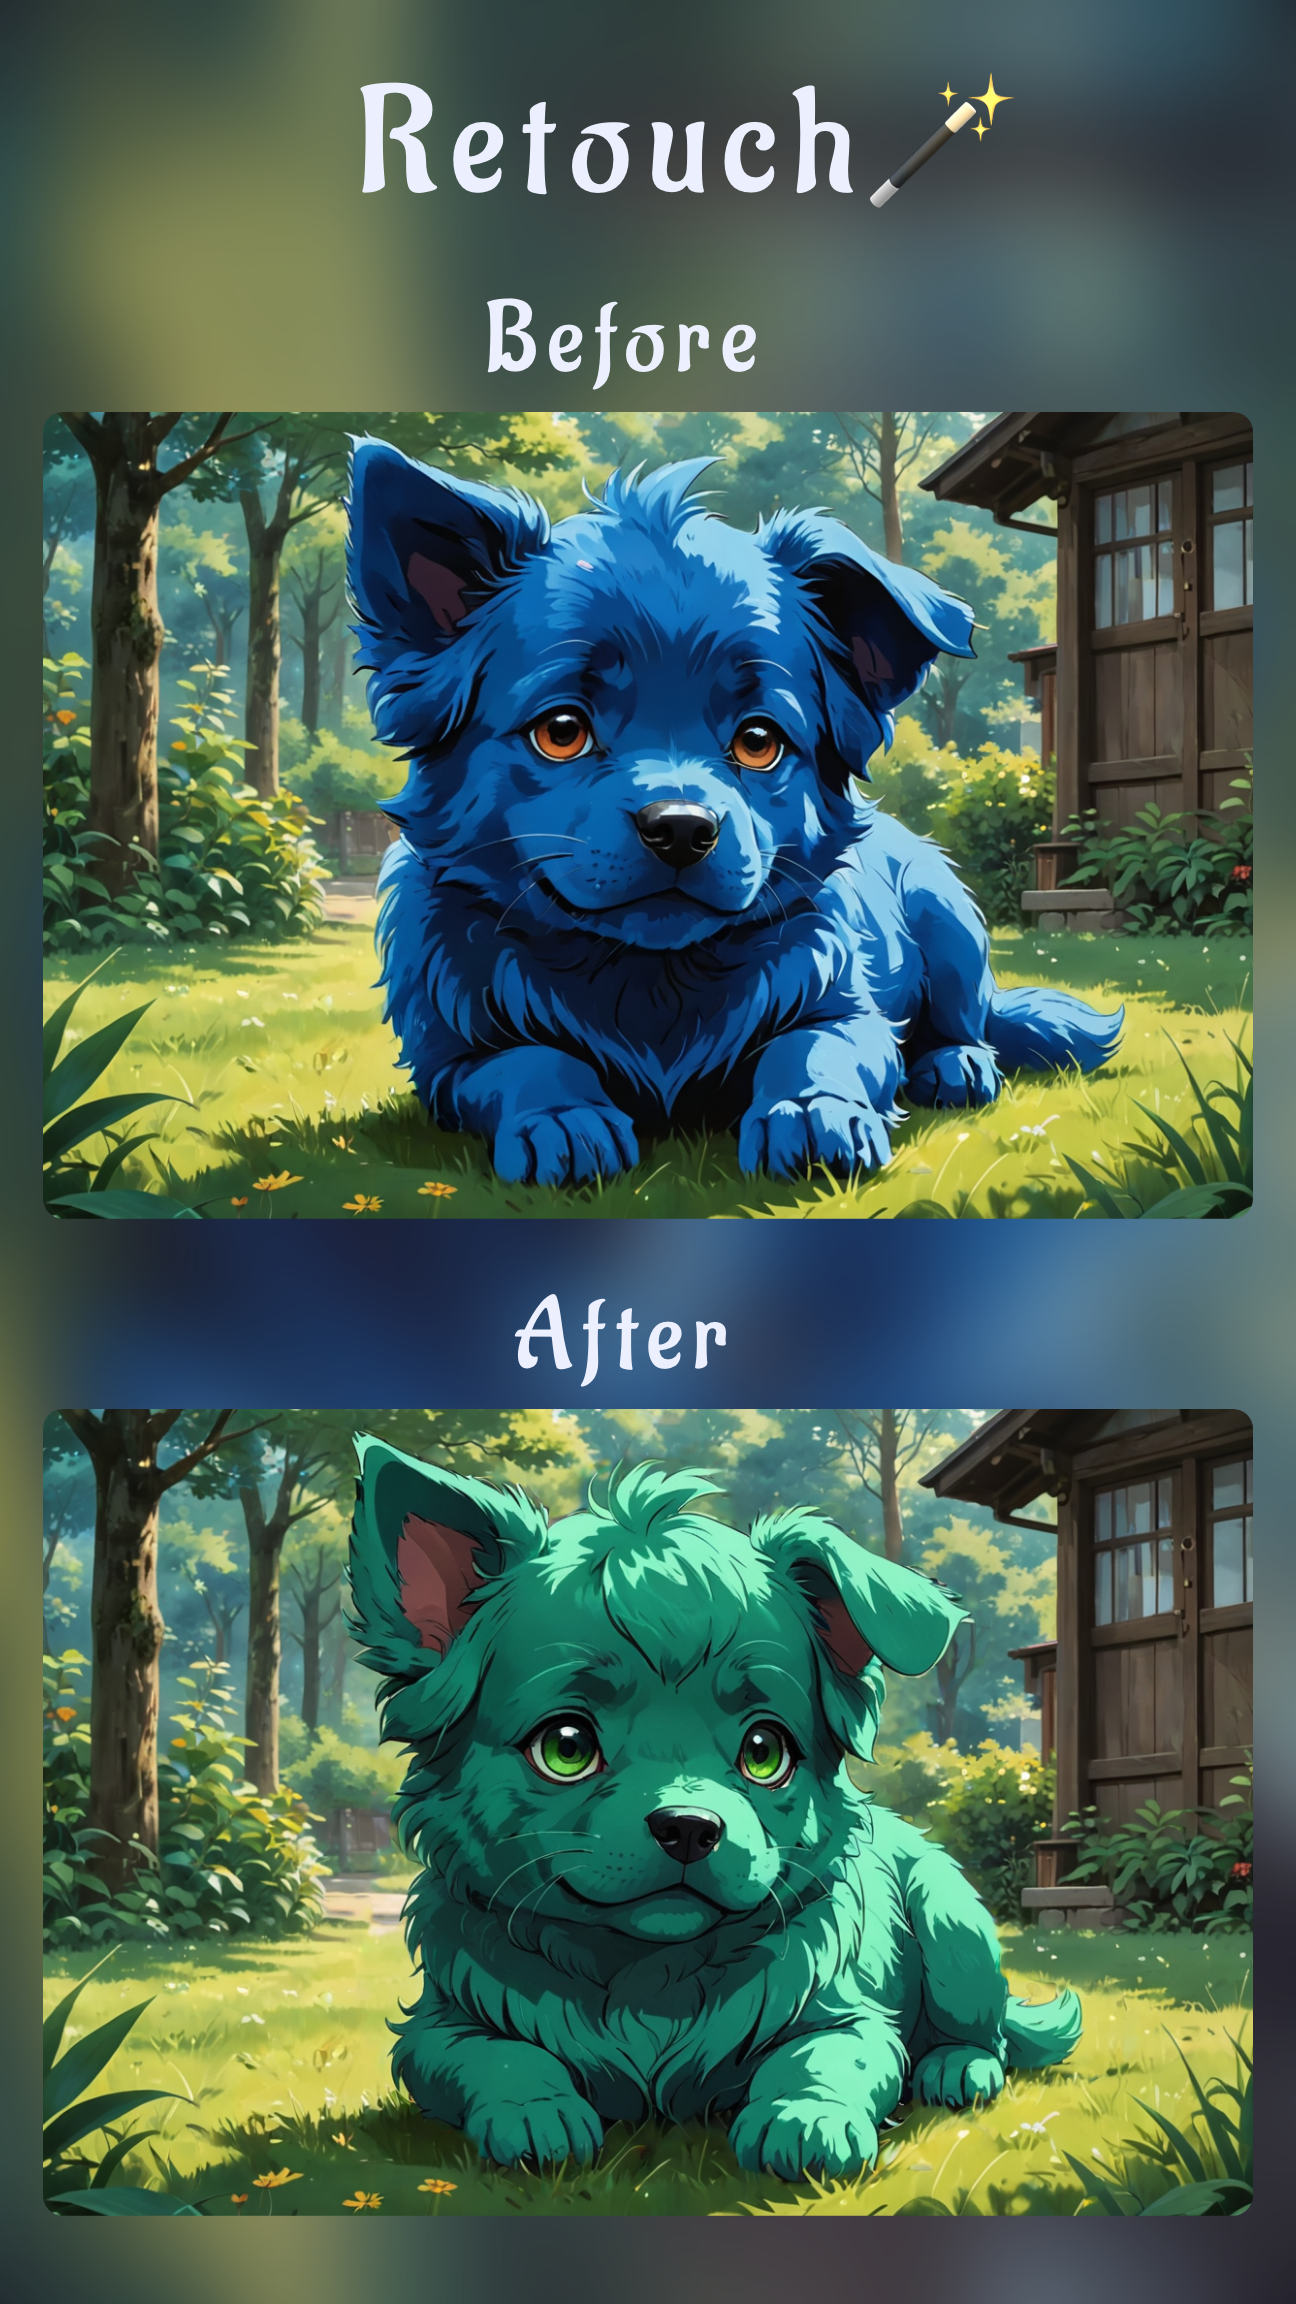
- Refiner: Smooth or sharpen the transition between the pixelated block and the untouched photo for a polished finish.
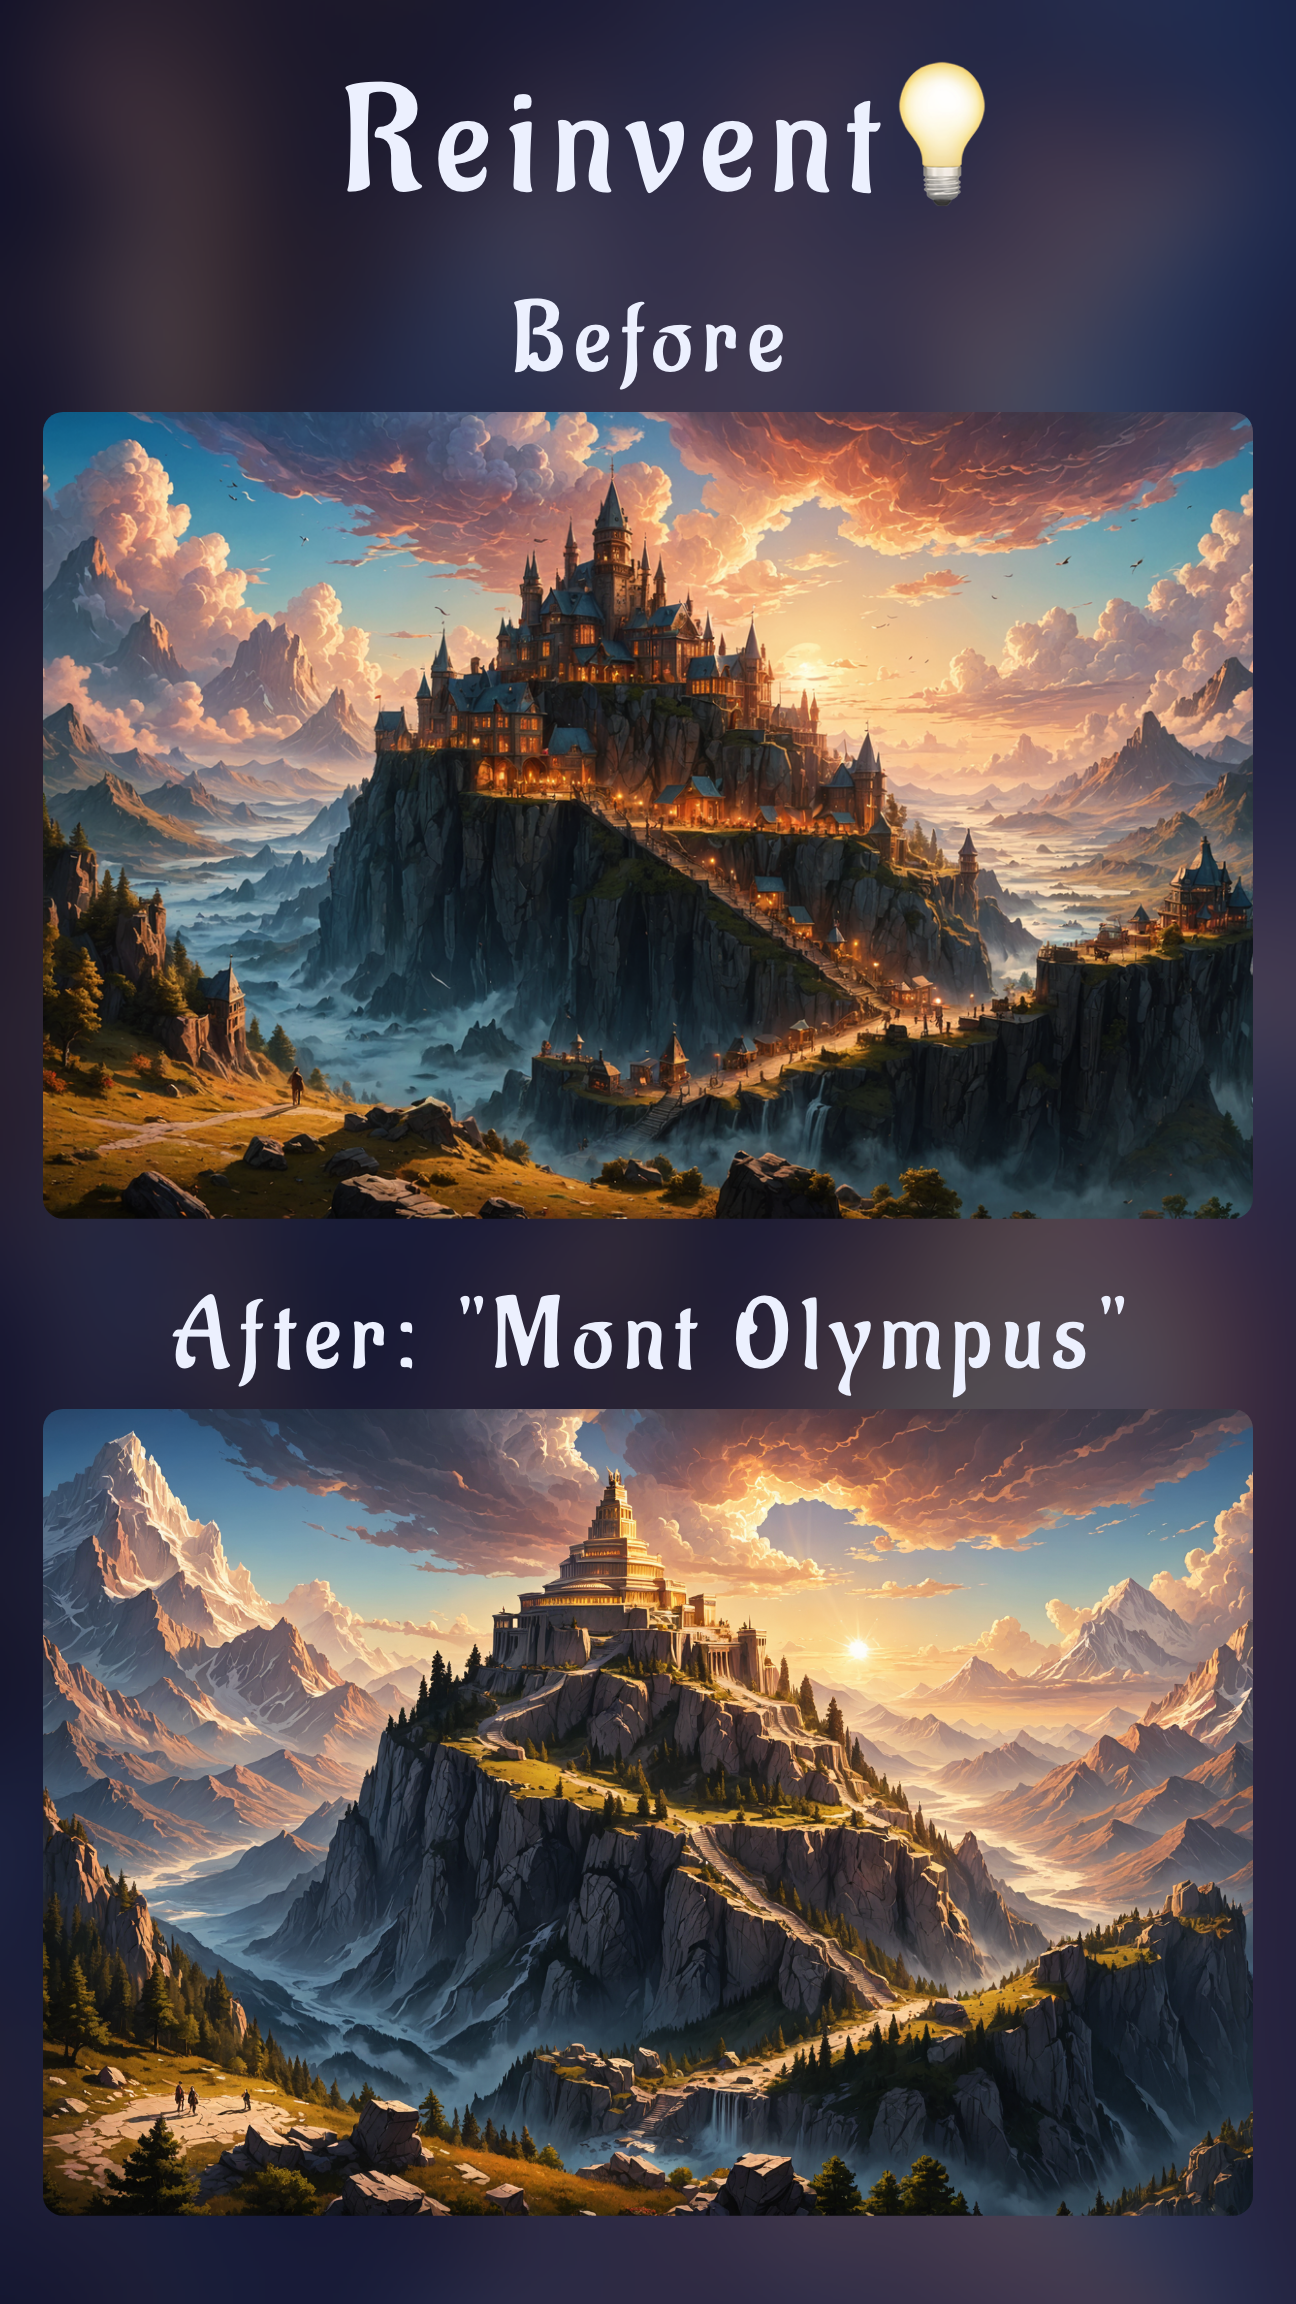
- Image-to-Image edit: Generate variations with larger or smaller mosaic tiles without remasking, perfect for testing readability.
- HD Upscale: Keep results high-resolution so print teams or social managers can reuse assets anywhere.
Because the interface is localized in 17 languages and optimized for thumbs, it stays approachable for stakeholders as well as design teams.
How to pixelate a picture on iPhone in Sinaï Studio
This workflow shows how to pixelate an image on iPhone without leaving Sinaï Studio. The same steps work for iPad too.
1. Prep the project and isolate the area
- Import the photo and duplicate it so you can revert if needed.
- Tap the Inpainting button to open the masking screen, then brush over the exact area you plan to hide.
- Use two fingers to zoom for pixel-perfect selections, especially when you’re handling small interface elements.
2. Prompt the pixelation
After you confirm the mask, Sinaï Studio shows the inpainting banner. Type a prompt such as “pixelate the masked area with chunky 10 px squares, keep surrounding colors untouched”. This phrasing keeps the mosaic bold enough for privacy but controlled within the selection.
3. Refine with mobile tools
- Use Refiner to soften edges if the mosaic feels too abrupt or to brighten the pixelated block so it still matches the scene.
- Try the Image-to-Image edit button to test alternative pixel sizes or add a slight blur over the mosaic for extra camouflage.
- Before exporting, run HD Upscale so the effect holds up when the photo is reposted or zoomed.
If you need to reuse the asset later, save both the pixelated and original versions inside the project—Sinaï Studio keeps them together for quick access.
Pixelate part of a photo on Android with the same workflow
On Android, Sinaï Studio mirrors the iOS layout, so you can quickly solve searches like “blur part of photo android” or apply full mosaic blocks in seconds. This replaces the trial-and-error you get with many android blur part of image utilities and outdated blur part of an image android tutorials.
- Open your image, tap Inpainting, and mask the region you need to hide.
- Prompt with language like “turn this masked area into a pixelated mosaic with medium squares” to produce a consistent result.
- Adjust the intensity slider if you prefer a blurred look—Sinaï Studio acts as your android app to blur parts of pictures too.
- Use Refiner to reduce halos and match exposure, then export the HD file.
Because every action is reversible, you can experiment without fear. If you need more dramatic edits, combine this workflow with the AI hair change tutorial to anonymize subjects even further.
Pro tips to edit photo pixels on iPhone and Android
- Layer effects thoughtfully: If the mosaic still reveals color clues, stack a subtle blur in Refiner. It’s the fastest answer to how to pixelate a photo on iPhone without losing context.
- Control pixel size: Mention dimensions in your prompt (e.g., “15 px squares”) when you wonder how to add pixels to a photo on iPhone so the AI knows the exact blockiness you expect.
- Match lighting: After pixelation, use the Exposure and Temperature sliders so the masked area doesn’t glow. These micro-adjustments are part of how to edit photo pixels on iPhone for professional releases.
- Document your settings: Save prompts in the project notes to keep brand guidelines tight, useful when you replicate the effect alongside the top-down view transformation or other stylized edits.
FAQs about pixelating part of an image
How do I pixelate a face on iPhone without another app?
Mask the face with Inpainting, prompt Sinaï Studio to “pixelate the masked area”, and preview the result. Adjust with Refiner if you need softer transitions.
Can Sinaï Studio blur part of a photo on Android?
Yes. Use the same masking workflow, then lower the intensity slider for a blur instead of a rigid mosaic. You can always switch back to pixelation with a fresh prompt.
What export settings keep pixelated areas sharp?
Run HD Upscale before saving, export as PNG for documentation or JPEG for social, and preview at 100% zoom so the mosaic blocks look intentional on every platform.