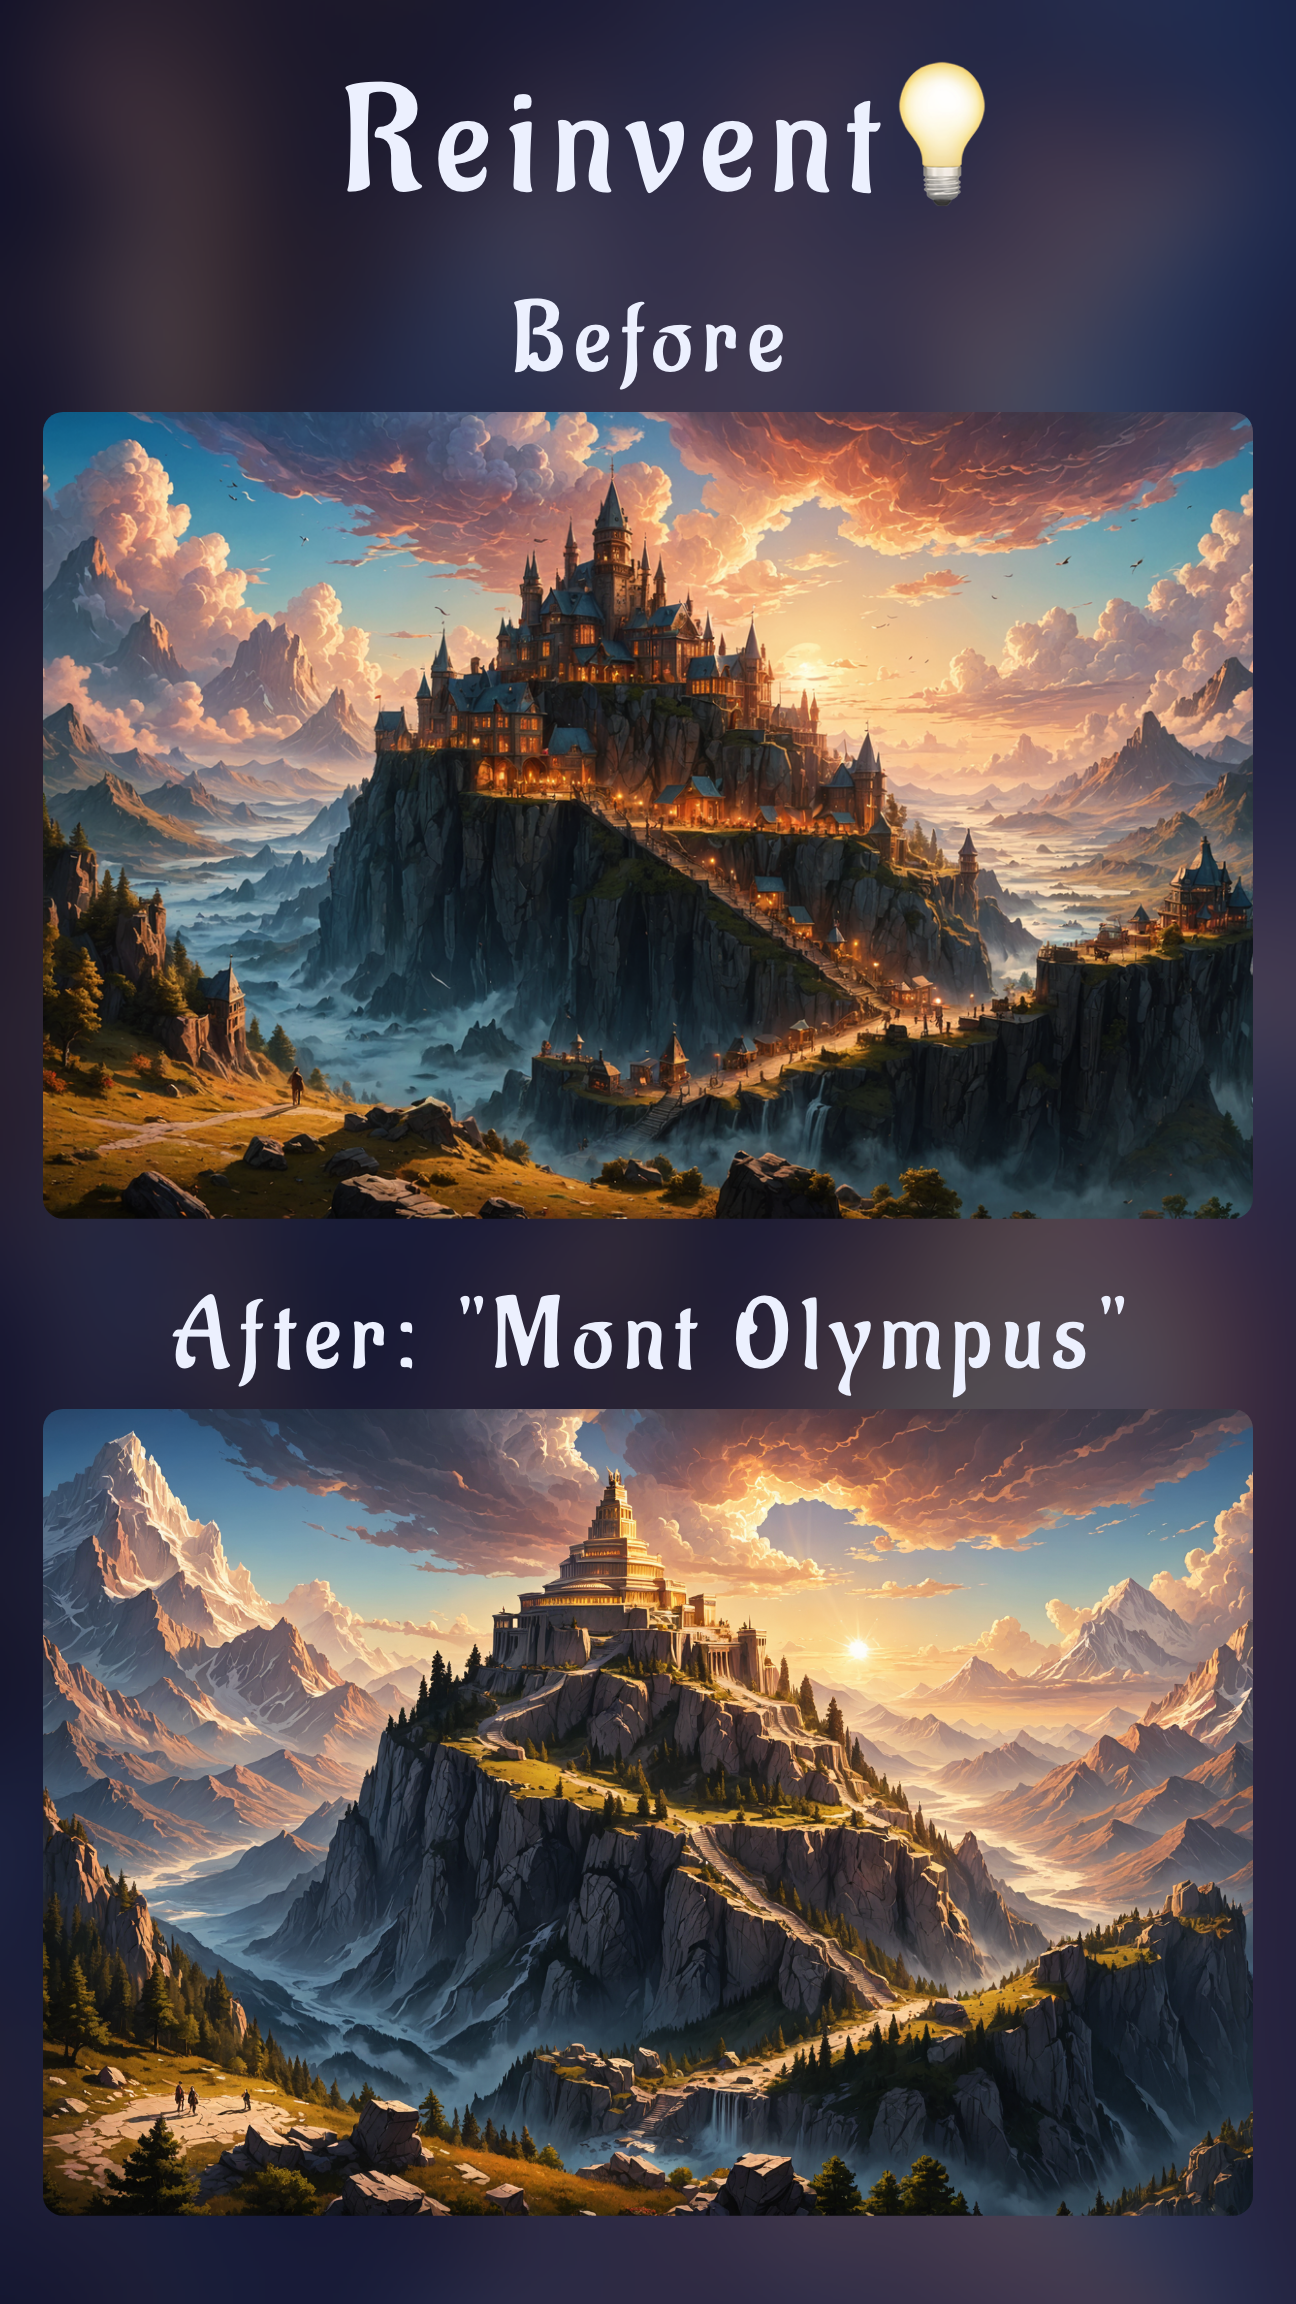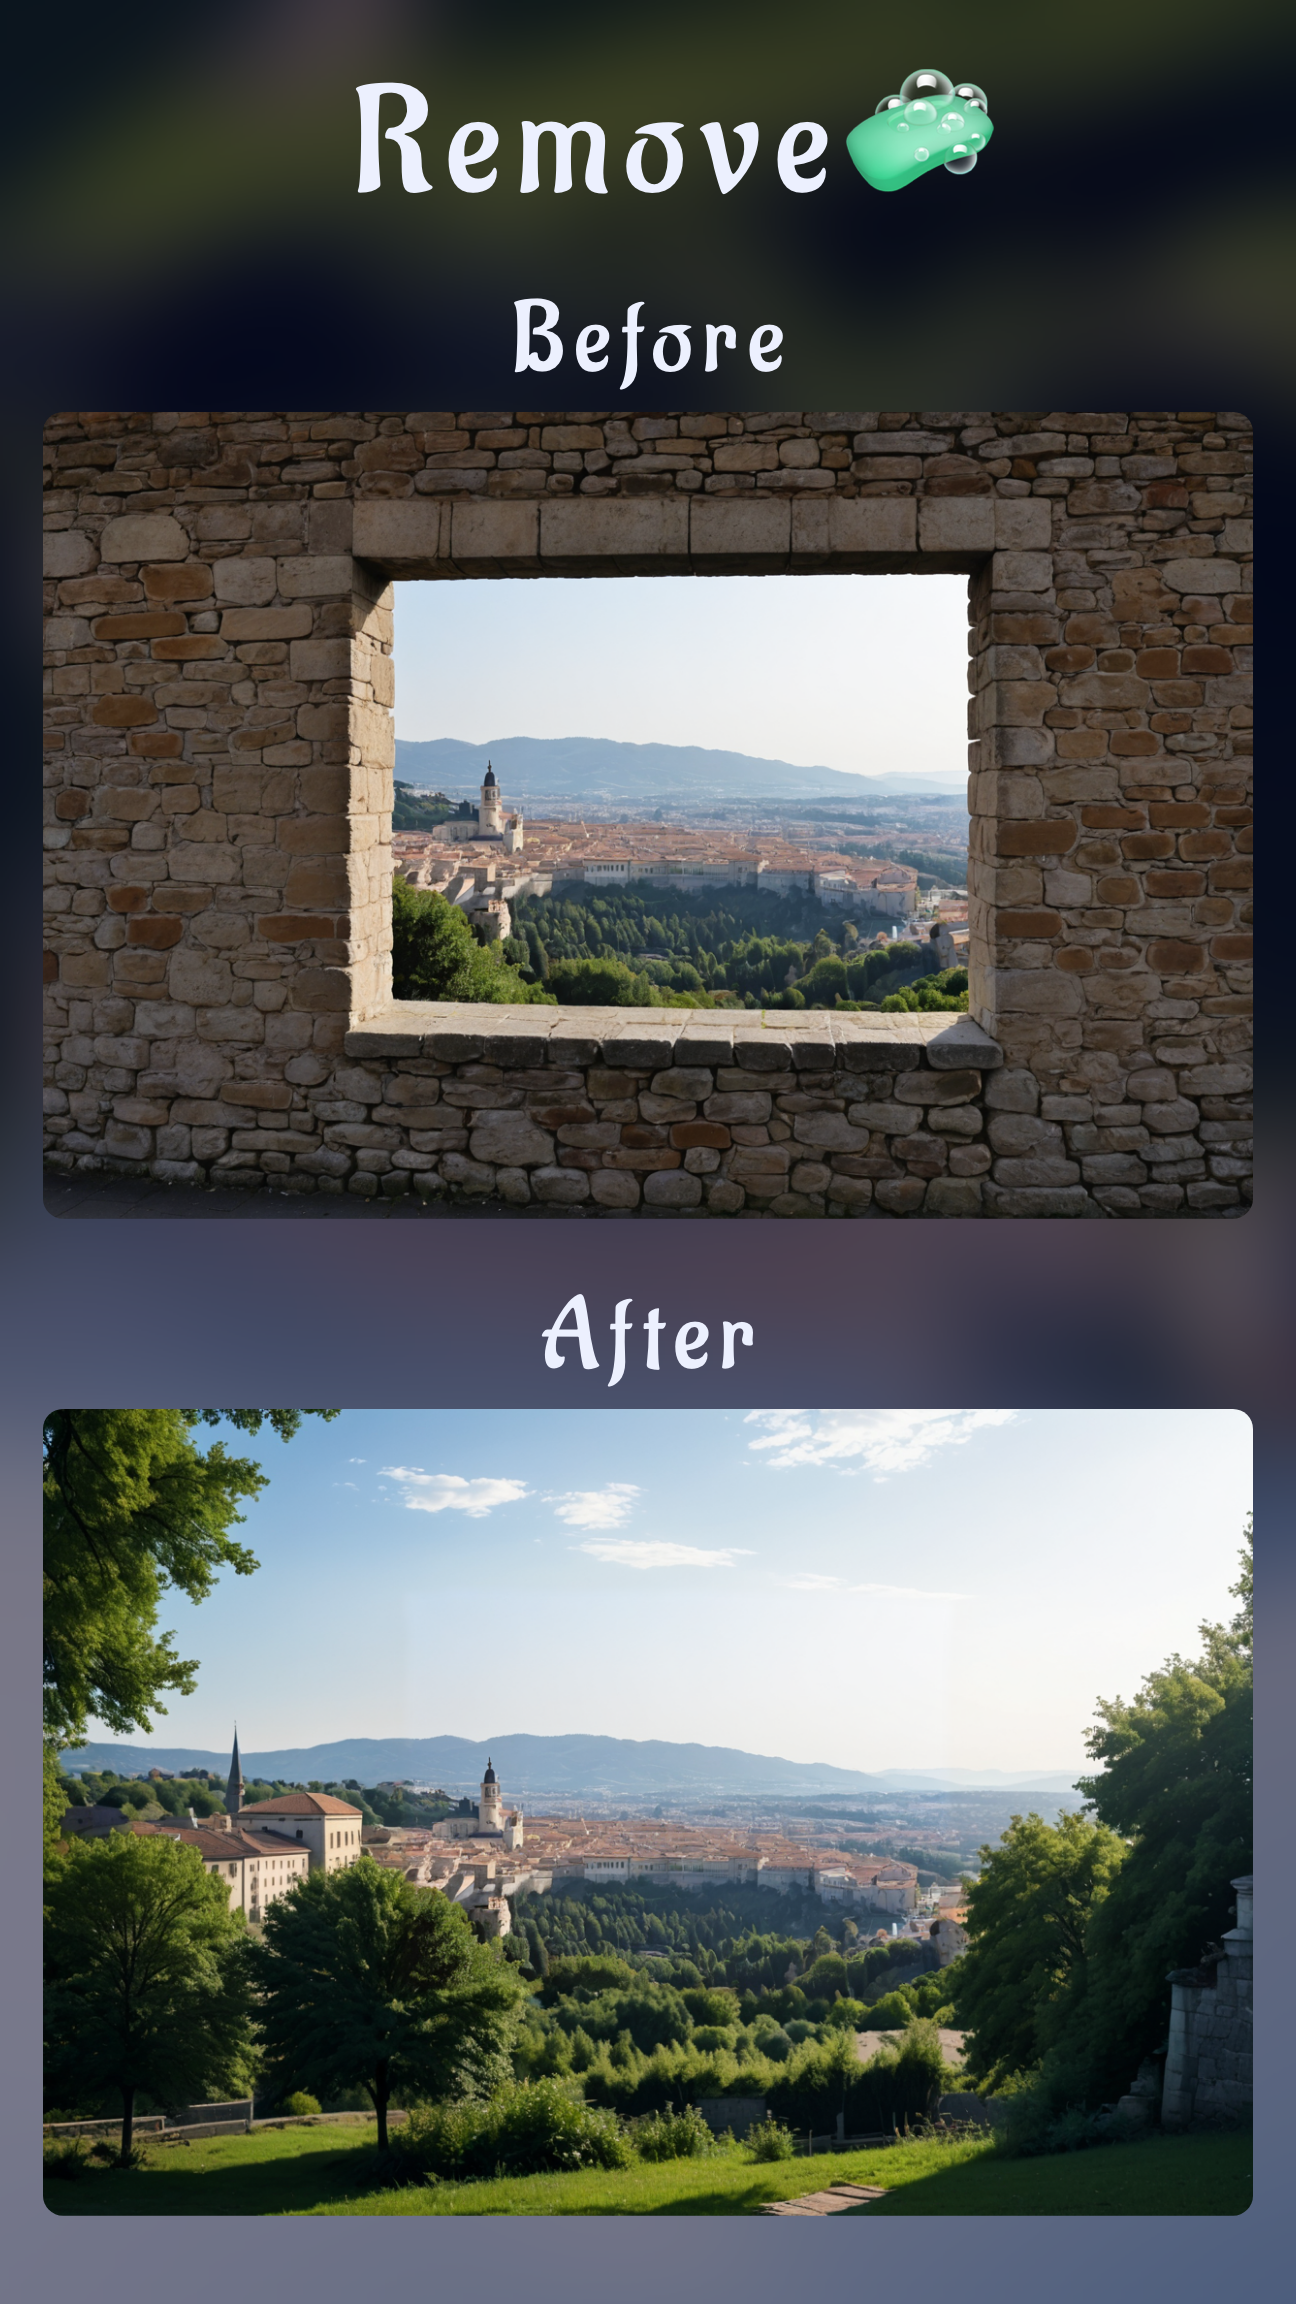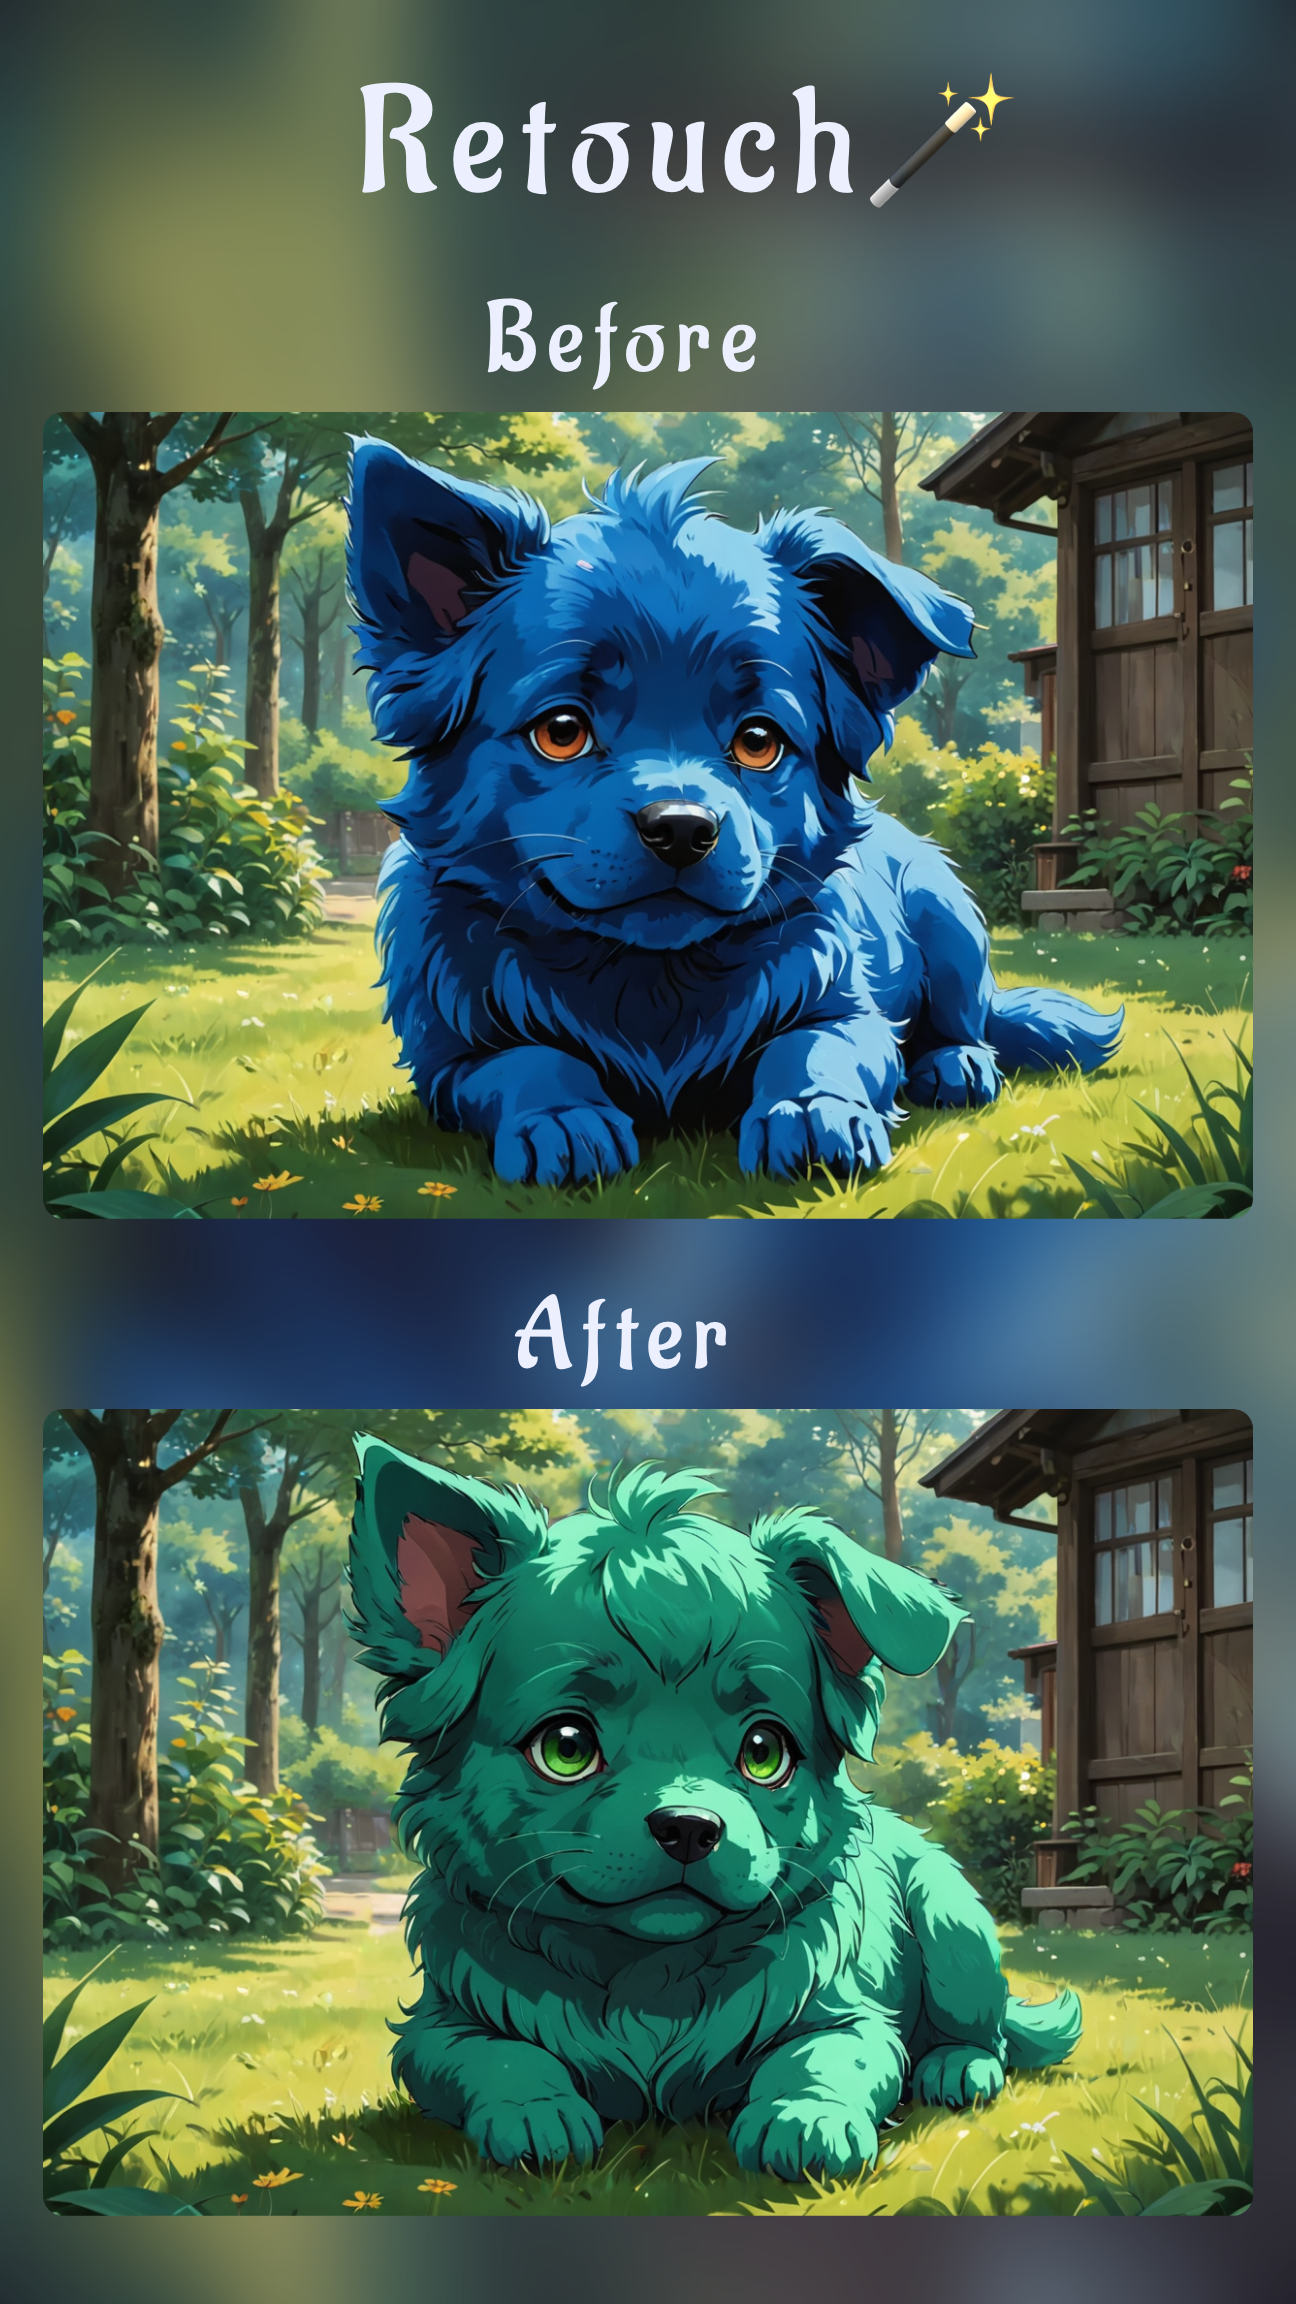
Getting a convincing top-down render from a single snapshot used to require painfully rebuilding the whole scene in 3D. Today you can shortcut that with AI: import your original image into Sinaï Studio, ask the Image-to-Image Edit tool for an overhead camera angle, and let the model infer the new perspective for you.
This tutorial walks through the complete workflow on mobile—ideal for designers, real-estate marketers, tabletop game makers, or anyone who needs a quick aerial preview based on the assets they already shot.
Key takeaways
- Top-down from one photo: Sinaï Studio’s Image-to-Image Edit button can reimagine any imported image as an orthographic or bird’s-eye shot.
- Prompt + context = believable scale: Mention measurements, number of objects, and lighting so the AI respects proportions.
- Mobile-first workflow: Capture, edit, and export on iPhone or Android with 25 free generations or edits every day.
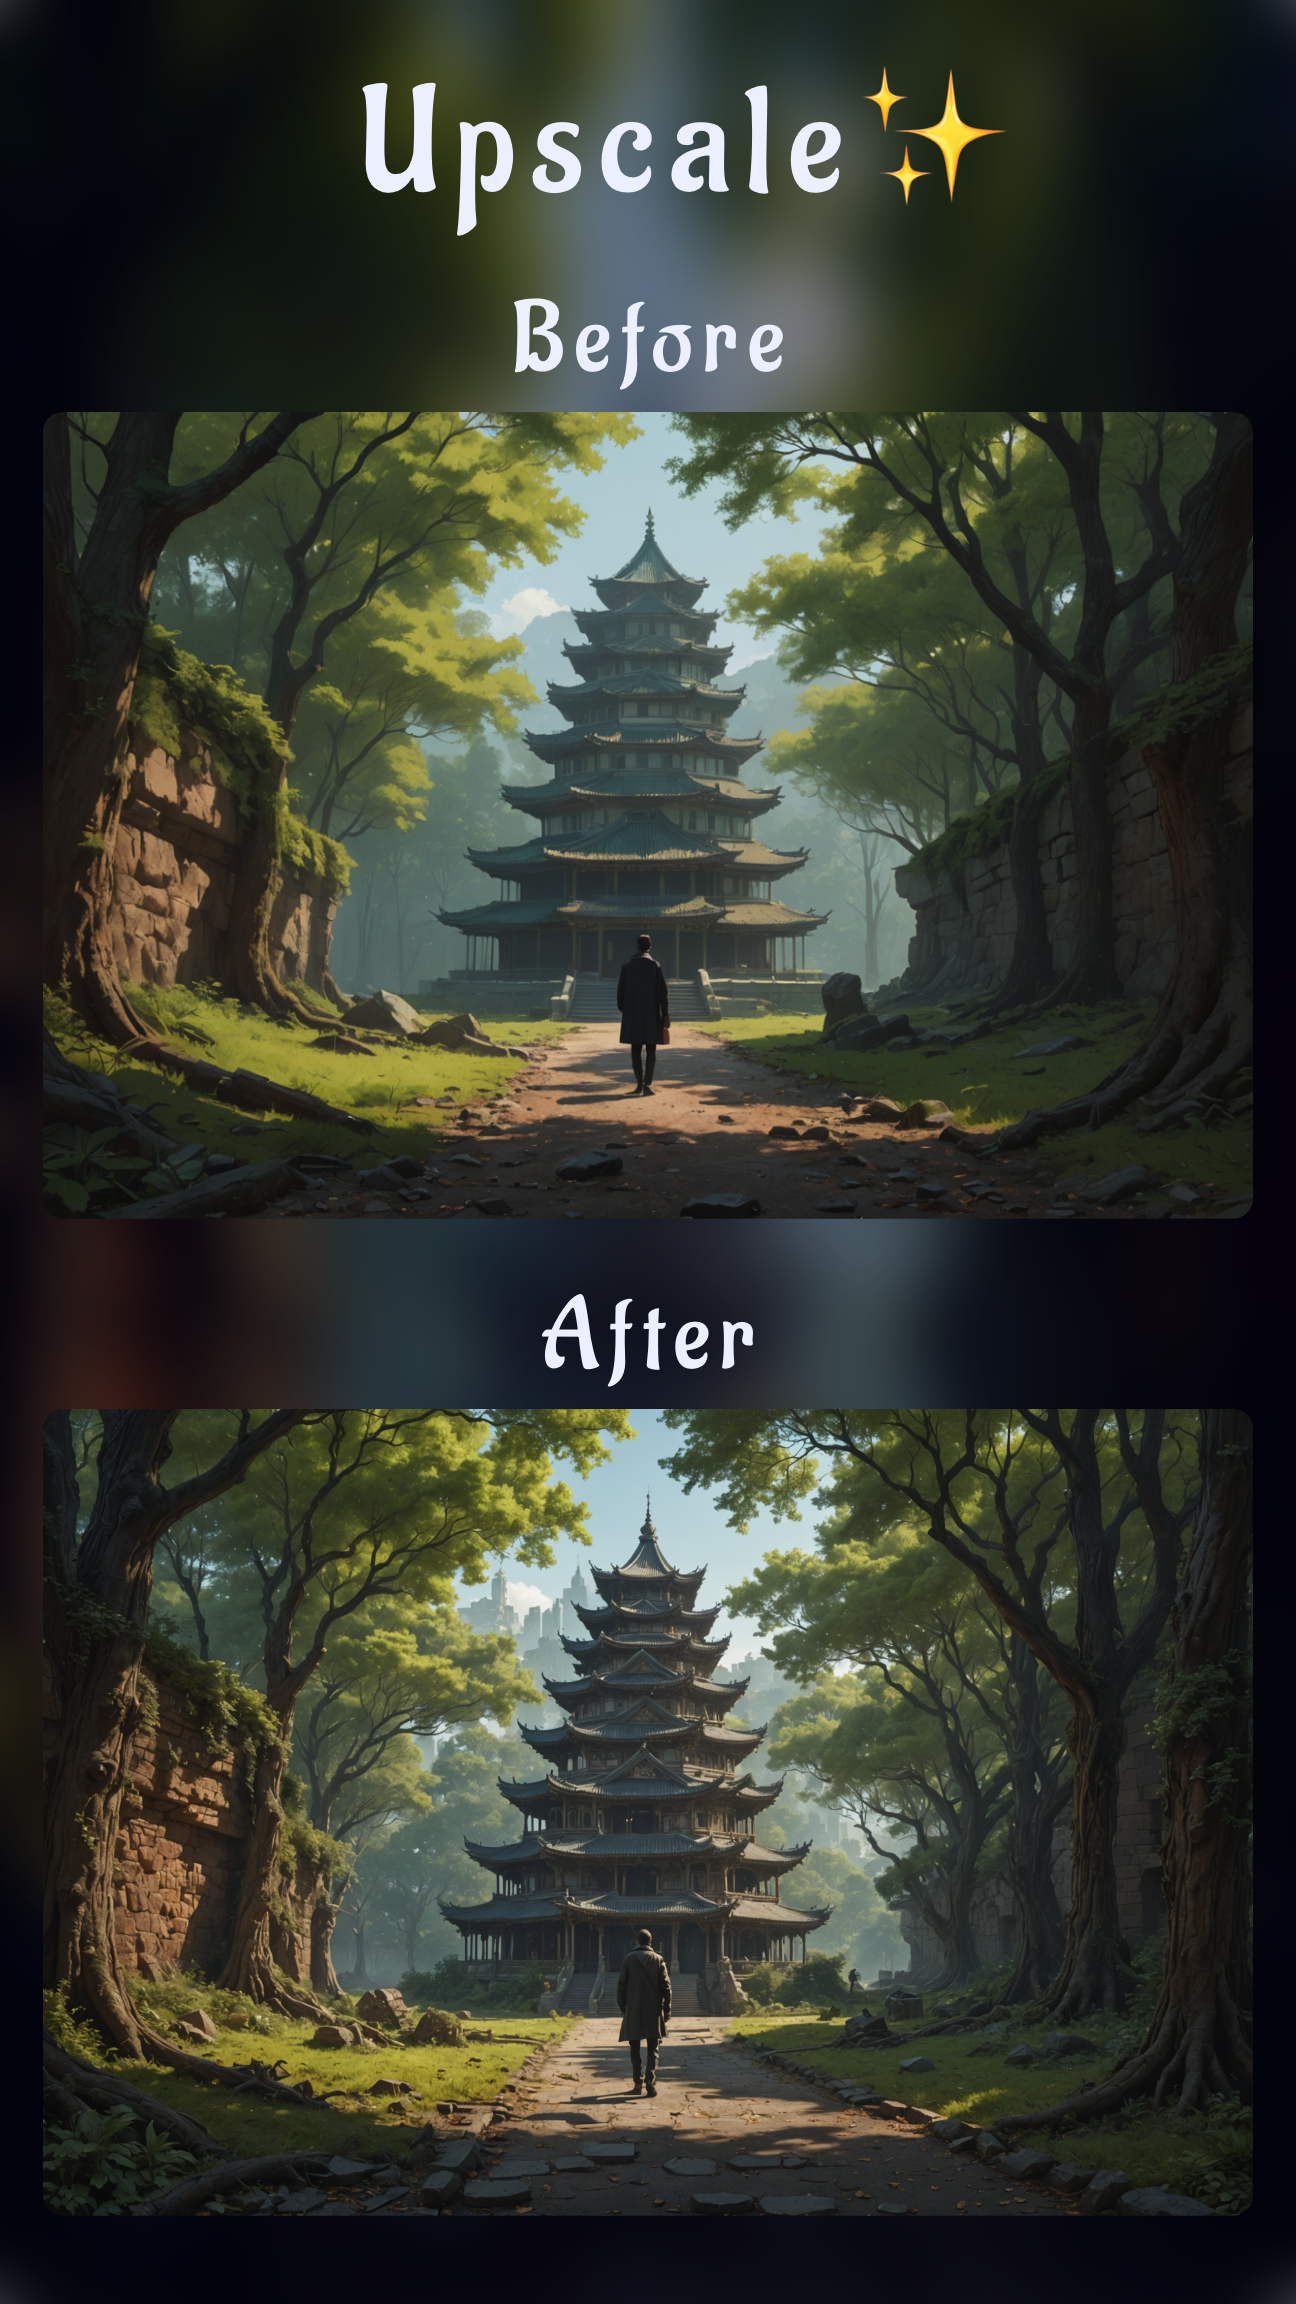
- Iterate without rebuilding: Regenerate variations instantly, then polish details with Detailer, Upscale, or SceneShift once the angle looks right.
What “top-down from a single photo” really means
The AI is not rotating your exact pixels in 3D—instead it uses your image as a structural and stylistic reference, then synthesizes a brand-new overhead view. The more the source photo communicates depth cues (floor lines, furniture layout, shadows), the closer the top-down render will match reality.
Where this workflow shines
- Showing an aerial version of an interior for real-estate listings or remodels.
- Turning product staging shots into flat-lay or blueprint-style visuals.
- Generating level layouts for games from concept art without diving into 3D software.
- Pitching marketing scenes (pop-up stores, event booths) with an instant top-down mockup.
Prep your source photo before editing
- Pick the cleanest reference image. Even lighting and minimal motion blur help the AI understand geometry.
- Cropped framing beats clutter. Trim the photo so the hero subjects fill most of the frame.
- Call out scale clues. Make note of furniture counts, walkway widths, or prop sizes—you’ll feed these back in the prompt.
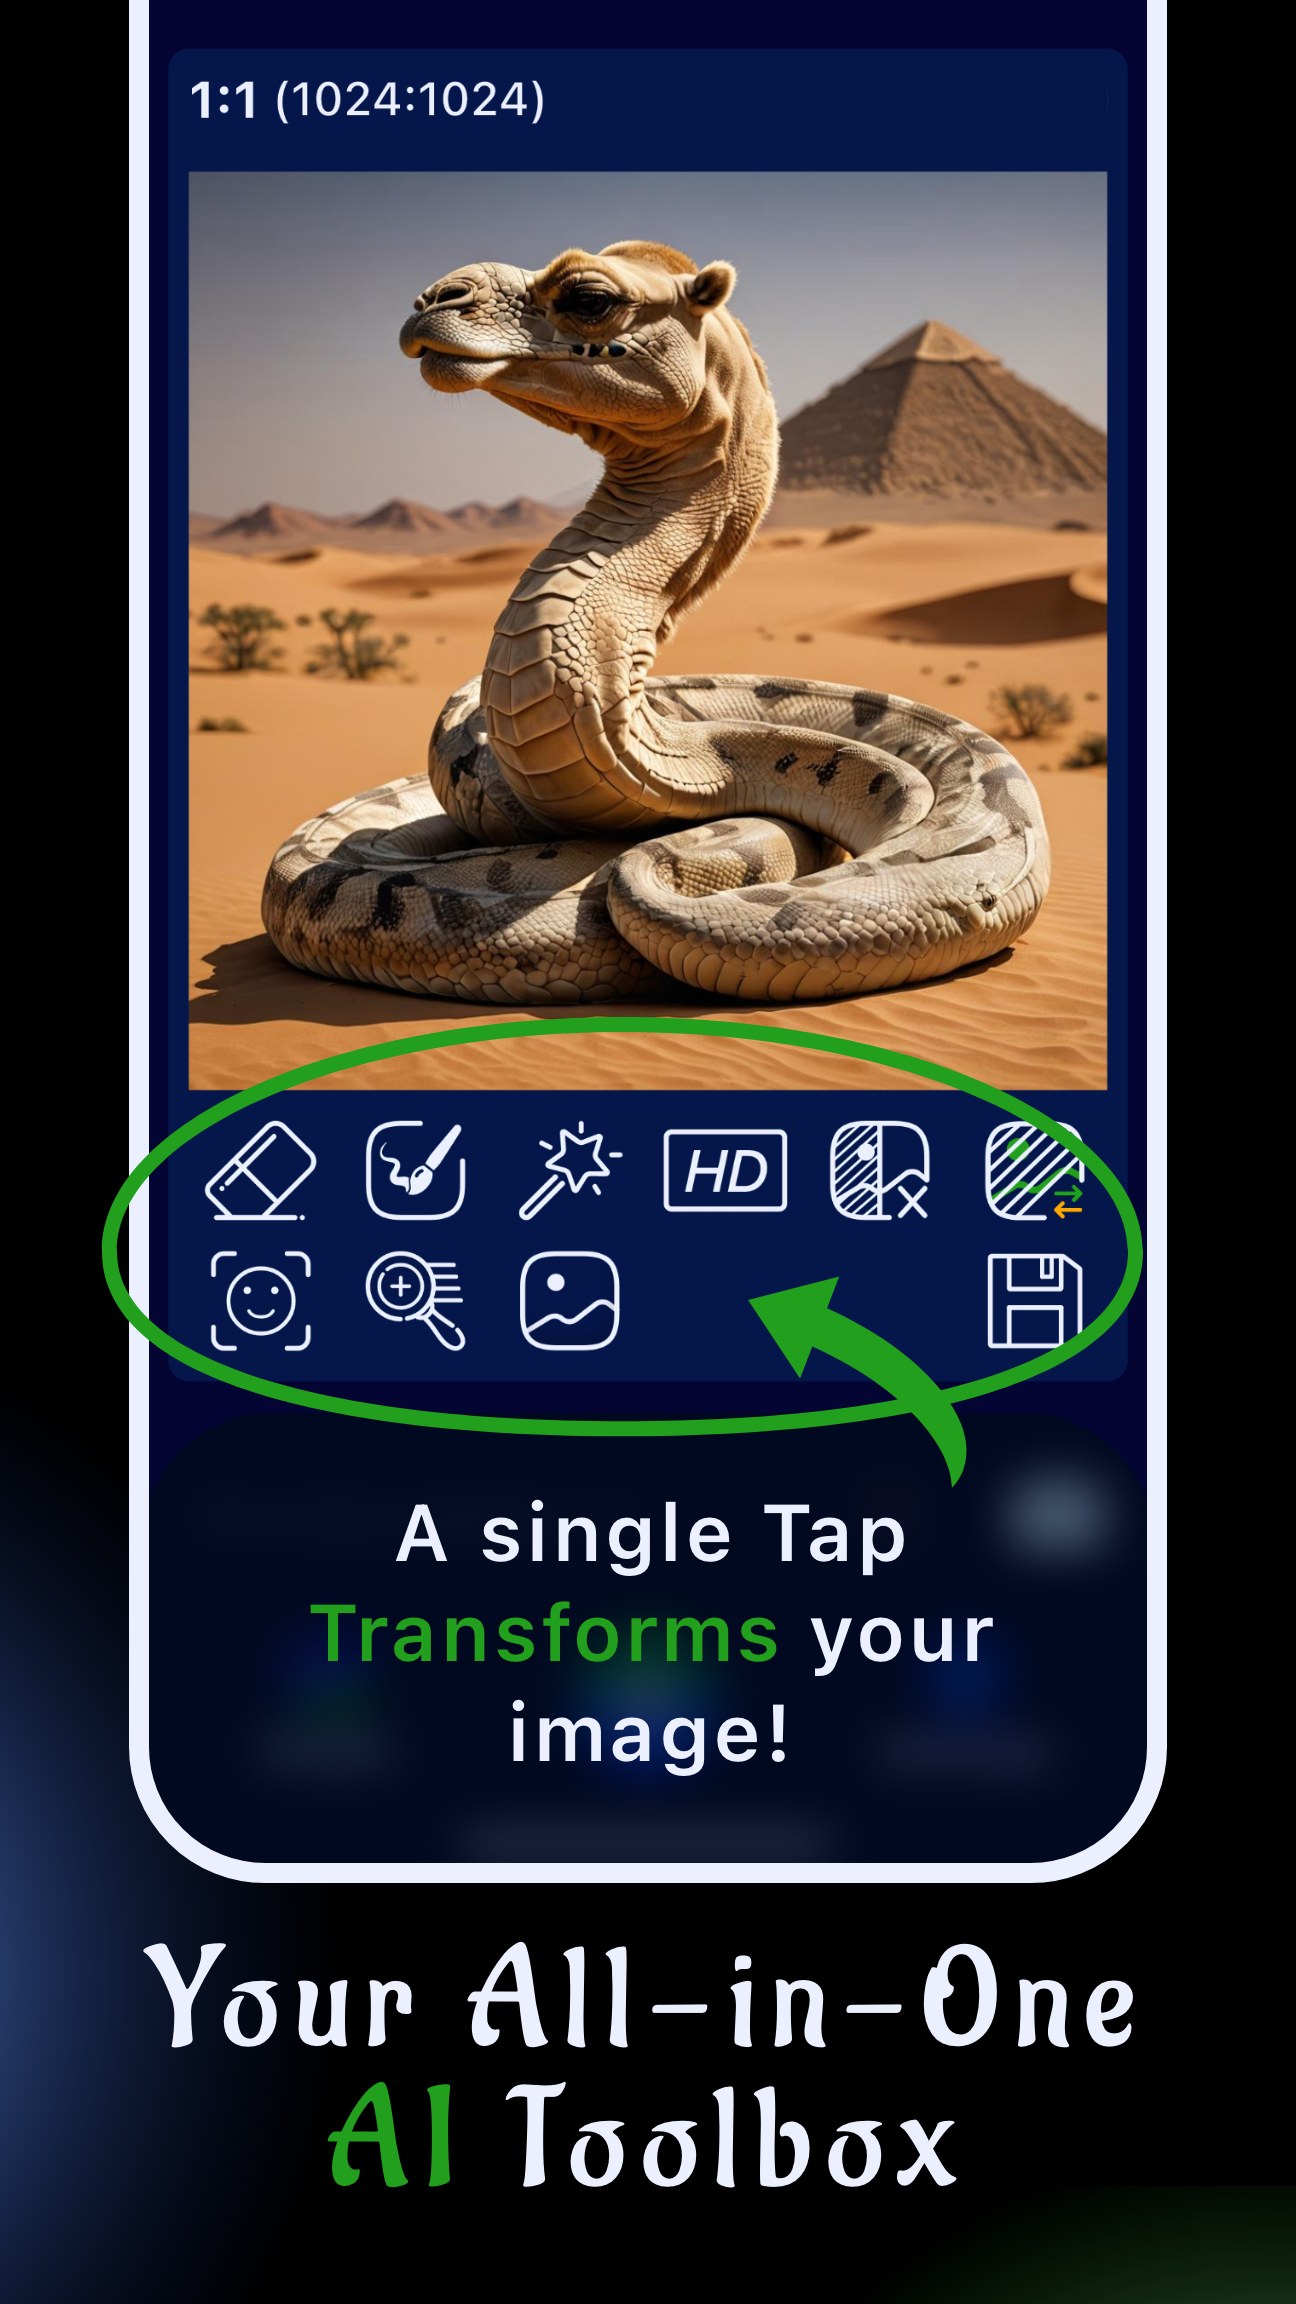
Step-by-step: use Image-to-Image Edit in Sinaï Studio
The overhead transformation is only available through the Image-to-Image Edit (🖼️➡️ “Edit”) button. Follow these steps:
- Import your photo. Share it from your camera roll into Sinaï Studio or tap the camera icon and select it inside the app.
- Tap Image-to-Image Edit. The button sits below the thumbnail; when selected you’ll see a banner confirming the tool is active.
- Describe the top-down view. In the prompt box, include the camera angle (e.g., “top-down,” “bird’s-eye,” “orthographic”), subject, and any scale notes.
- Adjust generation settings if needed. Use the white settings button (top-right) to raise resolution or request multiple variations.
- Send the prompt. The AI returns a reimagined image based on your source photo. Save promising results to the Studio gallery.
- Iterate quickly. Tweak the wording (“1:50 architectural plan,” “clean shadows, evenly lit”) or regenerate until the composition matches your goal.
- Finalize. Once satisfied, tap Save to keep the top-down render and export it to your camera roll or share it with your team.
Tip: Mention “same color palette as the reference photo” to retain brand styling while changing perspective.
Prompt formulas that work
Blend camera direction, subject detail, and styling references so the AI keeps your scene recognizable:
- Interior staging:
top-down view of this living room, modern neutral palette, sofa on the left, two armchairs facing a coffee table, natural light from top windows - Product flat lay:
orthographic render of this skincare set, keep marble counter texture, arrange bottles symmetrically with soft studio lighting - Game map concept:
bird’s-eye illustration of this cafe, keep counter location, show table grid and walkway clearances, stylize like cozy management sim
If the AI drifts, anchor your prompt with phrases like “maintain same furniture count,” “match original floor material,” or “respect original room proportions.”
Refine the overhead render inside Sinaï Studio
After the Image-to-Image Edit gives you the right angle, tighten the output without leaving the app:
- Detailer: Sharpen signage, fixture edges, or product labels that need to remain legible from above.
- SceneShift: Swap the backdrop to a blueprint grid or outdoor plaza once the layout is locked.
- Style Transfer: Apply a consistent brand look across multiple overhead renders.
- Image Upscaling (HD): Export high-resolution plan views ready for presentations or social media.
All of these edits sit underneath the same project, so you can layer adjustments and keep experimenting on mobile.
Export and share
Tap Save to store your best result in the Studio, then export to PNG or share directly to collaborators. Each account includes 25 free generations or edits per day, giving you enough room to explore multiple overhead options before upgrading.
Try Sinaï Studio for your next aerial mockup
Whether you need a quick top-down plan for a client, a stylized map for gameplay, or a flat-lay marketing shot, Sinaï Studio puts AI-assisted perspective shifts in your pocket. Import any photo, tap Image-to-Image Edit, and iterate until your overhead concept looks right—no desktop 3D work required.