Blurry mobile shots creep in at the worst times—dim restaurants, quick candid portraits, or screenshots that instantly lose definition. Instead of juggling desktop plugins, you can unblur a photo on mobile for free and keep your edit flow in one place.
This guide breaks down how to fix blurry photos with Sinaï Studio, the best app for sharpening AI-assisted edits on both iPhone and Android. You will learn how to tackle motion blur, soft focus, and low-resolution uploads while keeping faces natural and colors aligned with your brand.
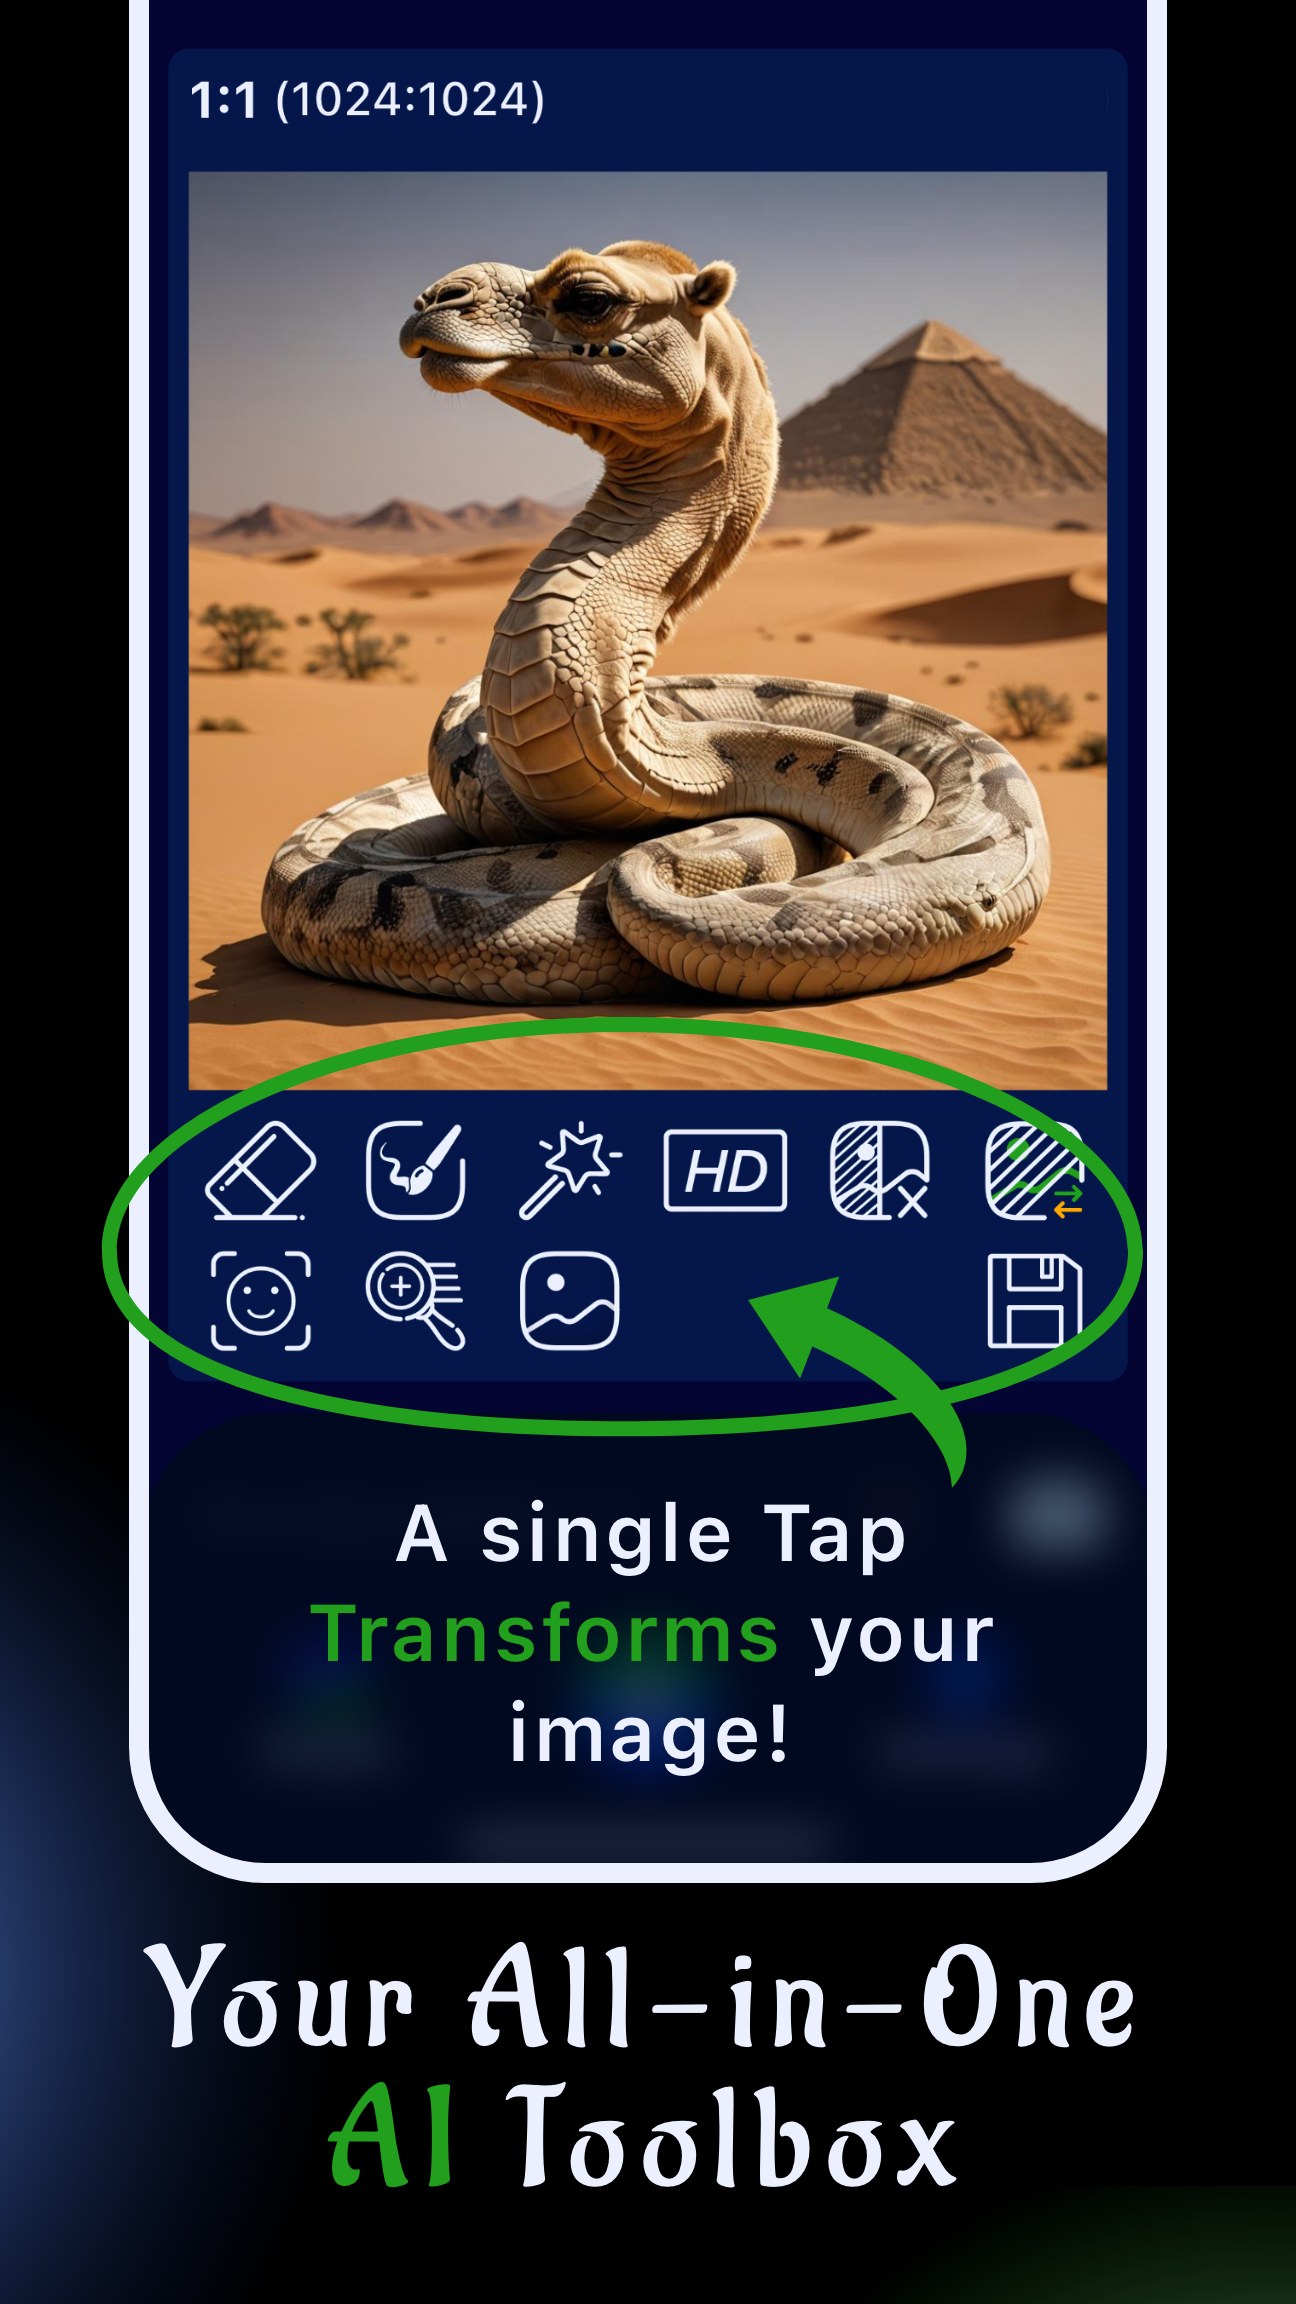
Why Sinaï Studio is the best app to fix blurry photos
Sinaï Studio is purpose-built for creatives who need production-ready images straight from their phone. Every tool works together so you can fix blurry photos faster than exporting to a desktop editor.
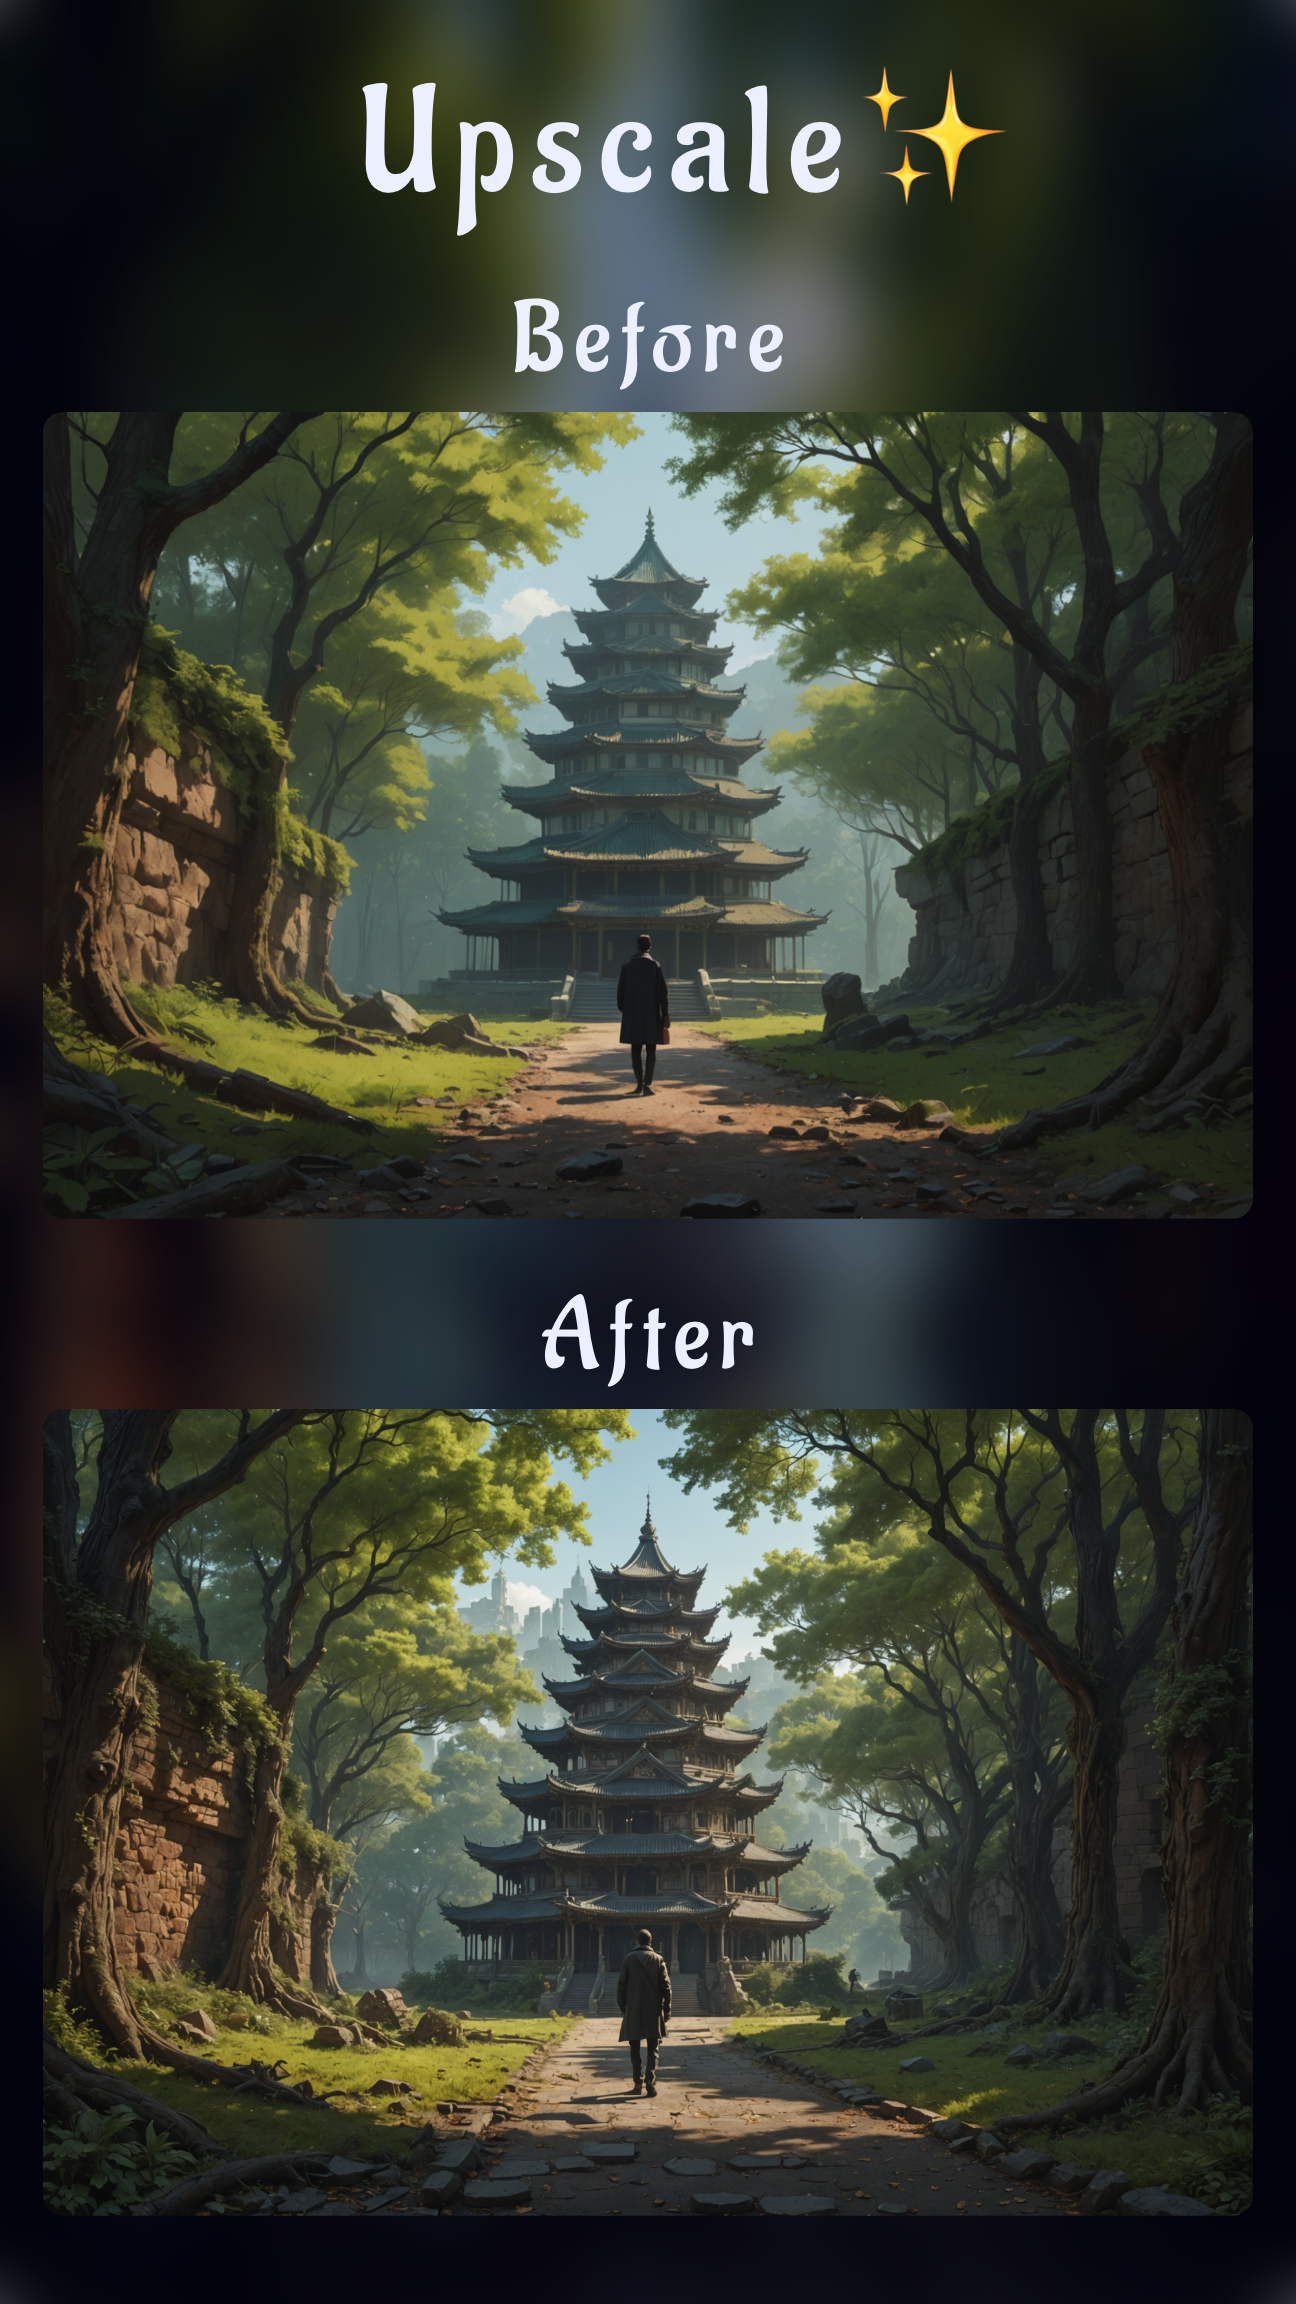
- HD Upscaling in one tap: Boost resolution and contrast before you refine details, so you start from a cleaner base than the original upload.
- Refiner and Detailer: Paint over eyes, logos, or text and describe the desired sharpness. Sinaï Studio restores micro contrast without adding crunchy halos.
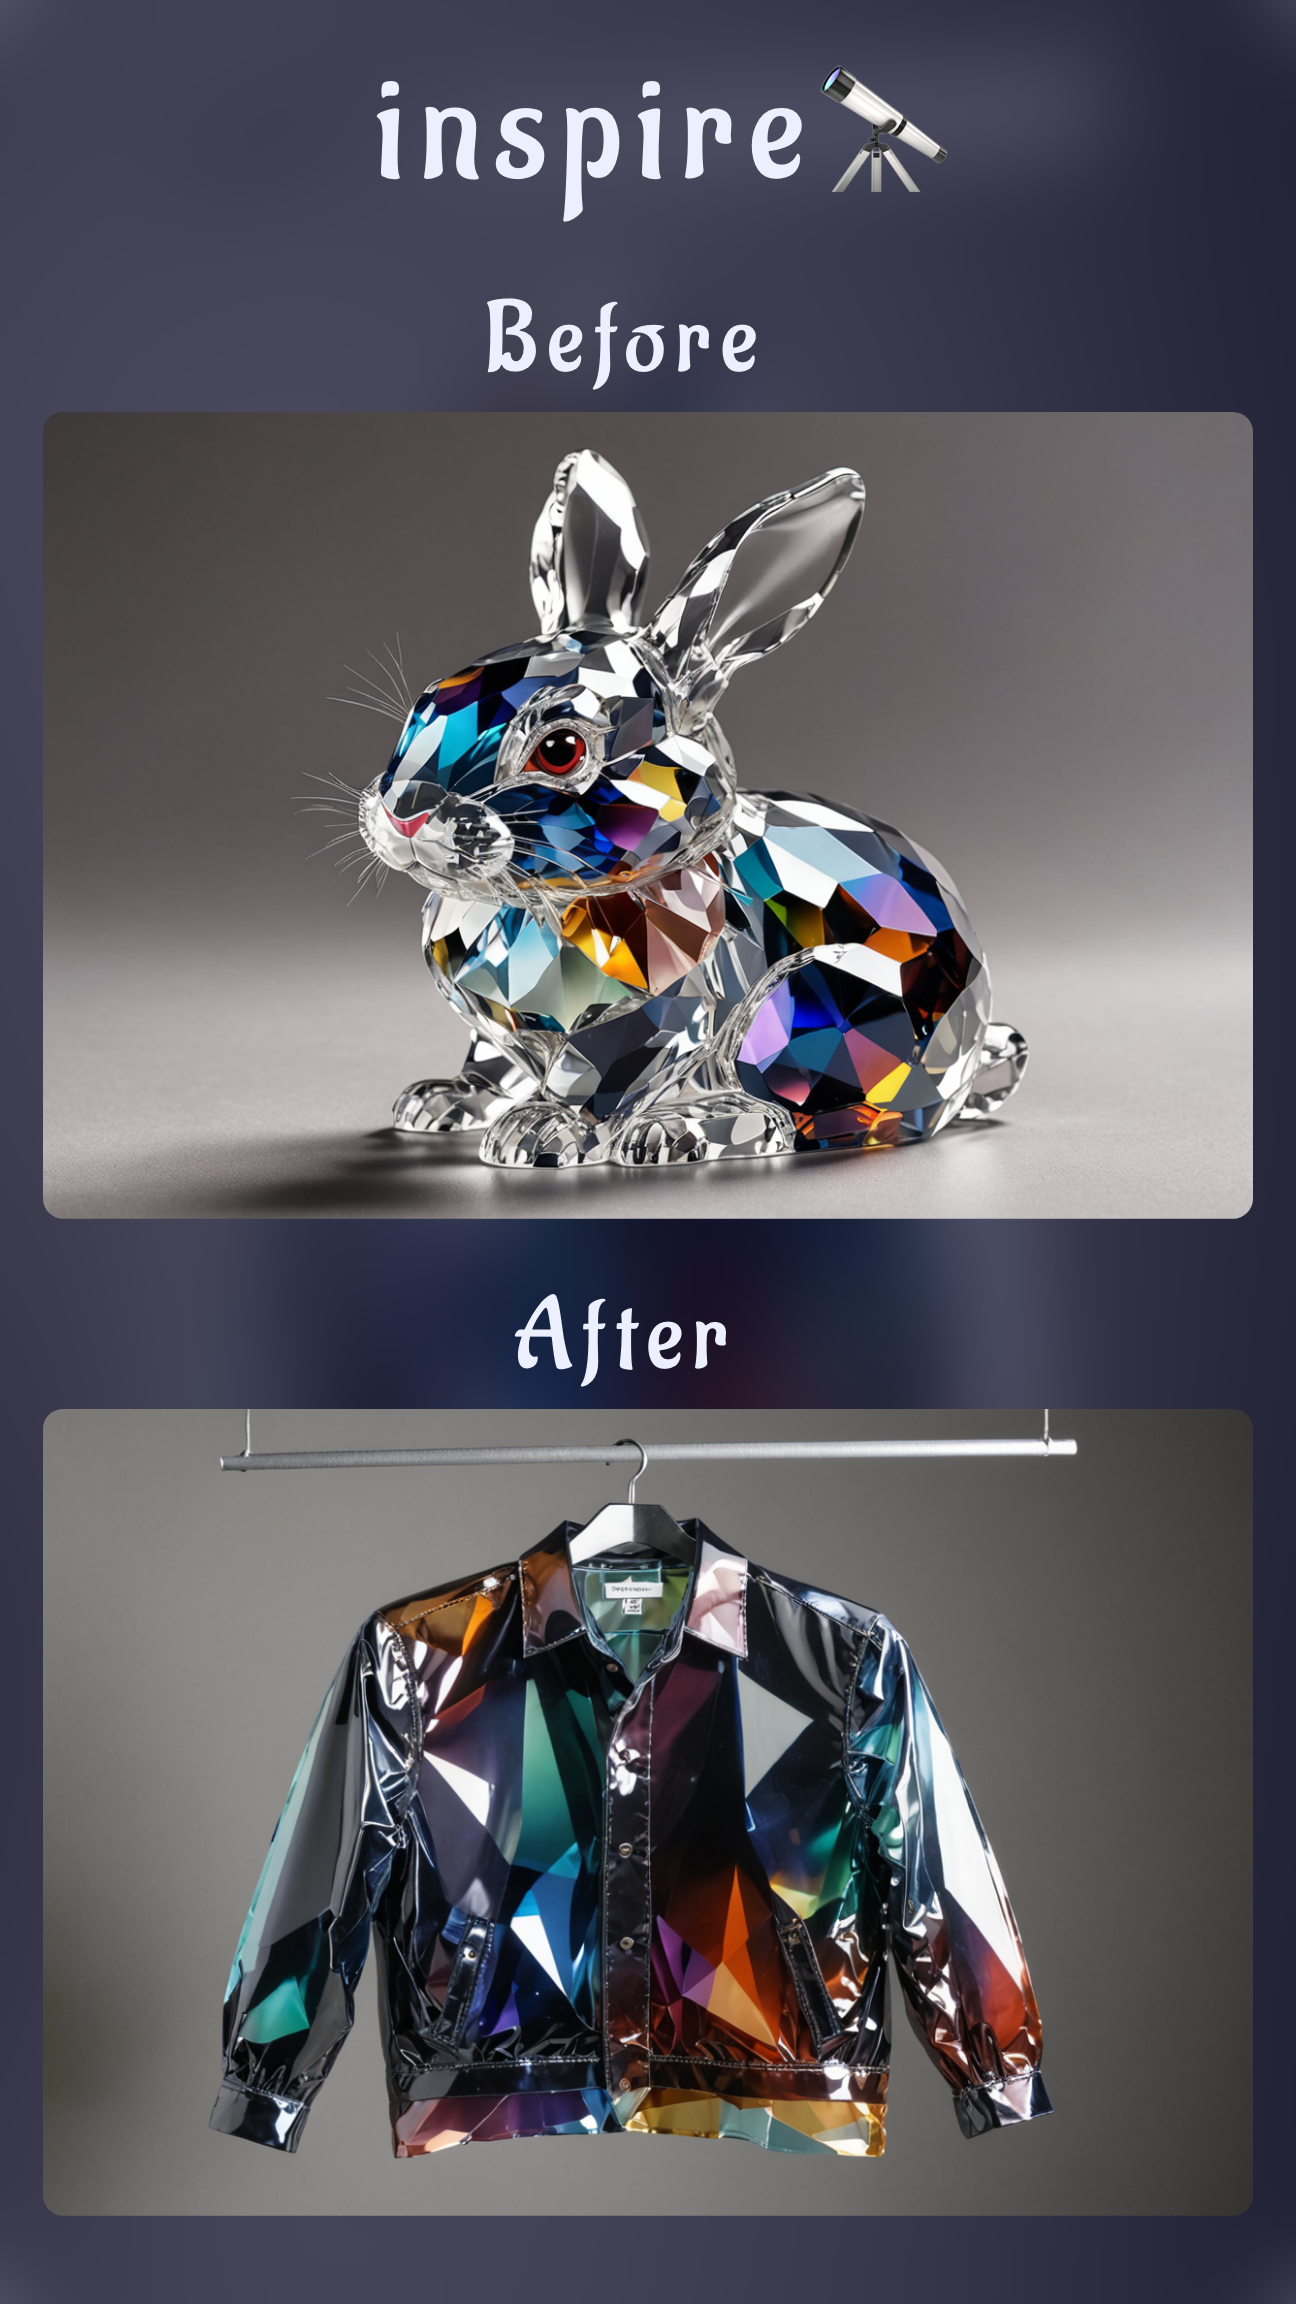
- Image-to-Image control: Rebuild areas lost to motion blur or soft focus with prompts that respect your brand colors and lighting.
Need to revive an entire archive too? Pair this workflow with our mobile photo restoration guide or keep edits consistent across campaigns using the object removal walkthrough.
How to unblur a photo on mobile with Sinaï Studio
The steps below work on both iPhone and Android. Each tool lives under the same toolbar, so you can follow along regardless of your device.
- Import the blurry photo. Launch Sinaï Studio, tap the camera icon or share sheet, and open your image. Confirm the output size in the top-right generation settings if you need a 4K social or print-ready export.
- Start with HD Upscaling. Select the Image Upscaling (HD) button. This removes compression artifacts and restores global contrast before you dive into targeted sharpening.
- Refine the hero details. Switch to Refiner, zoom into eyes, logos, or product edges, and mask the area. Add a prompt like “restore sharp eyes with natural skin texture” or “sharpen product label text without increasing noise,” then tap Send.
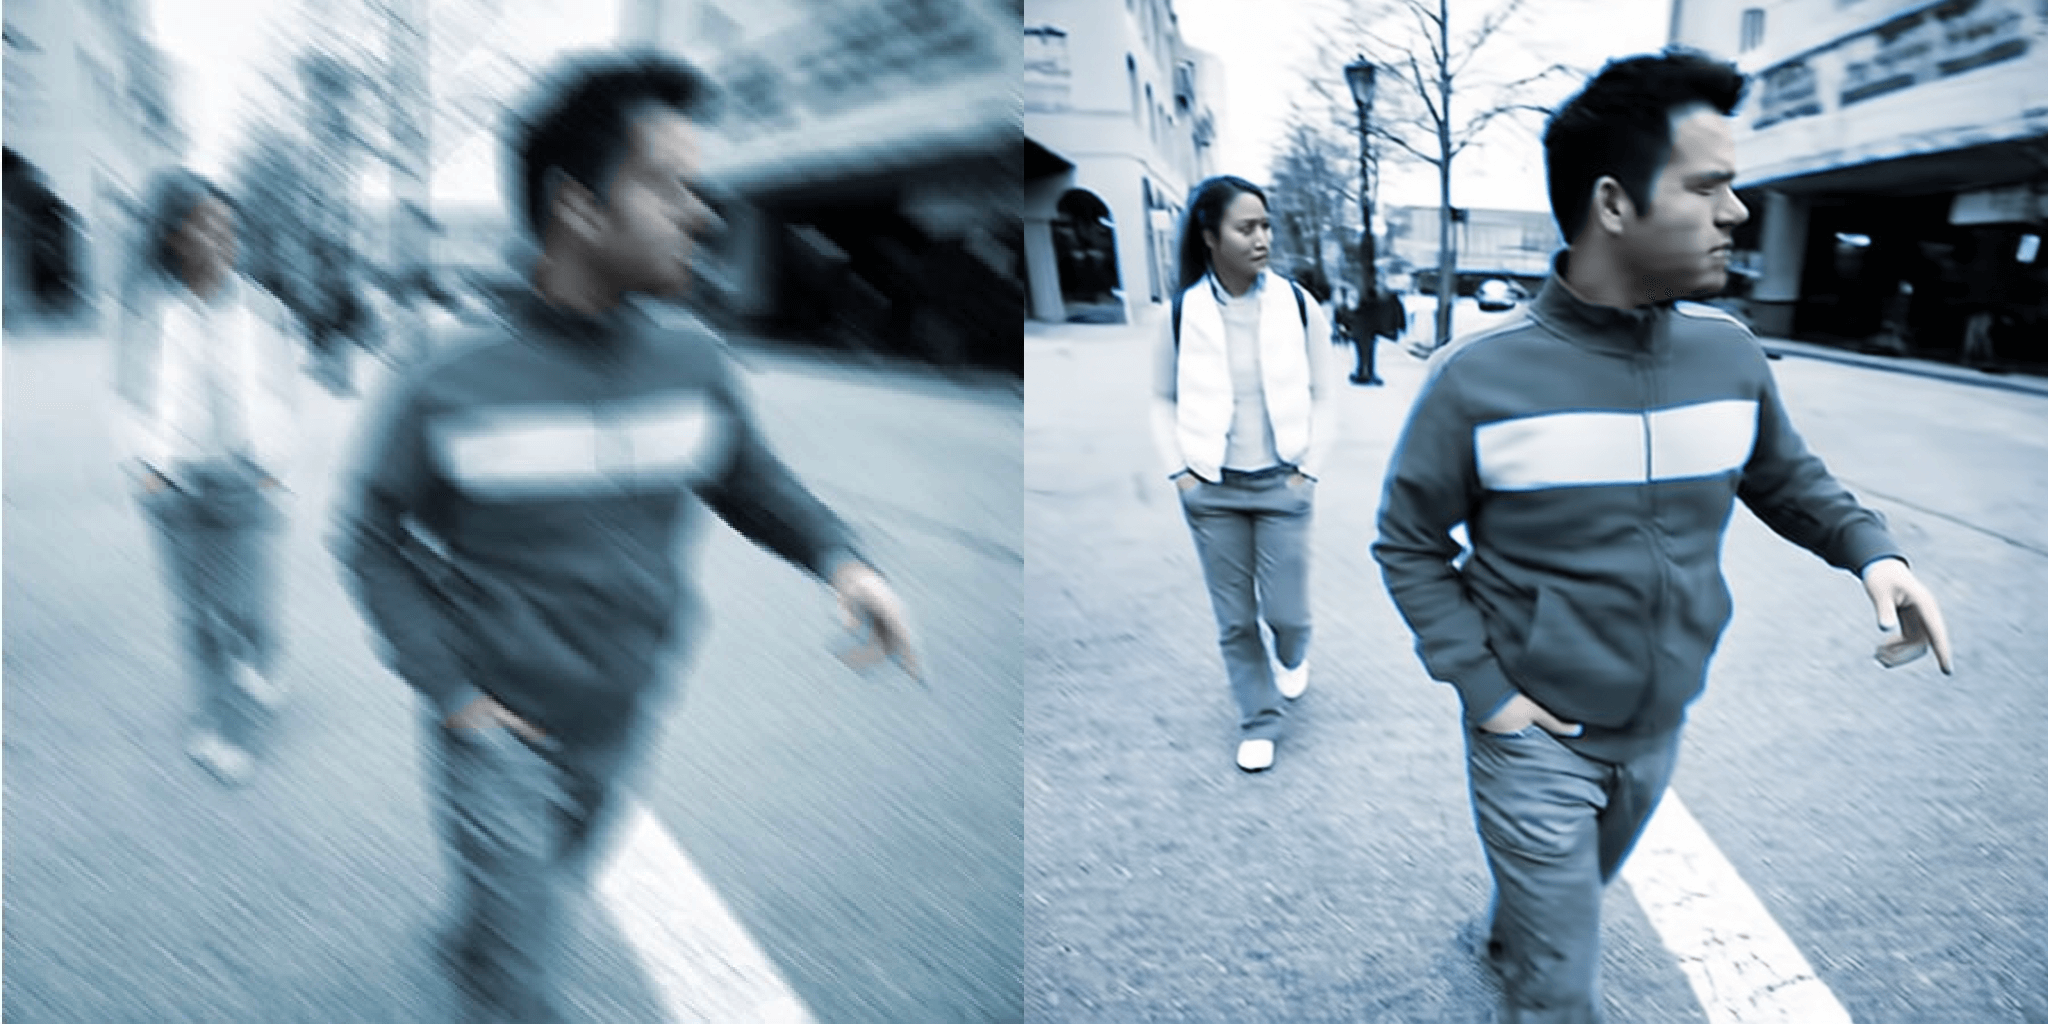
- Repair motion blur. For moving subjects, pick Image-to-Image Edit, mask the subject, and prompt “reduce motion blur, keep original colors, crisp edges.” This regenerates a sharp take while preserving your framing.
- Polish and export. Toggle the before/after view, optionally run Detailer for micro contrast, save your favorite version to Scenes, and export the HD file to your camera roll or cloud drive.
If motion blur is severe
Duplicate the project and try a second Image-to-Image pass with a prompt such as “rebuild subject with steady camera look, keep background soft bokeh.” Blend this version with the original using Sinaï Studio’s layers to keep background texture while sharpening the subject.
Keep the photo looking natural
Stack gentle edits instead of one aggressive prompt. A quick Refiner pass on the face plus an Image Upscale often beats a heavy-handed sharpen filter. If your subject has skin texture or fabric patterns, lower the prompt intensity slider to 0.7–0.8 before regenerating.
Pro tips to sharpen blurry photos on your phone
- Work zoomed in and out: After every edit, zoom out to confirm the image still reads clean on a small screen. It prevents over-sharpened halos.
- Save reusable prompt snippets: Store phrases like “restore facial definition” or “sharpen product edges” so your team keeps a consistent voice across edits.
- Balance noise and clarity: If grain creeps in, run a light Inpainting pass over the background with “smooth noise while keeping natural lighting.”
- Combine with creative edits: Once the shot is sharp, add stylized depth using ideas from our mobile creative edits playbook.
Alternative free ways to fix blurry pictures
If you want to compare workflows, Snapseed’s Details menu or Lightroom Mobile’s Texture slider can add clarity, but they lack the selective AI masking that keeps faces natural.
For the sharpest results, combine those manual controls with Sinaï Studio’s AI refinements—use them to fine-tune contrast after the heavy lifting is done.
Capture sharper photos next time
- Stabilize your shot by bracing elbows against your torso or a table before tapping the shutter.
- Use burst mode in low light so you can pick the cleanest frame before editing.
- Enable your phone’s grid and tap to focus on the subject’s eyes or text, especially for product photos.
Sinaï Studio keeps your entire fix-blurry photo workflow on mobile—from sharpening the hero shot to adding creative polish. Download the app, claim your daily FREE AI image creation and editing credits, and keep every post, pitch, or portfolio update looking crisp.