Looking for a remove watermark free tool? Whether it's an old timestamp, a distracting logo, or a draft stamp on your own asset, watermarks can ruin a clear image. But you don't need Photoshop to fix it.
Sinaï Studio is the best photo watermark remover for iPhone and Android. It uses advanced AI to erase the text and—crucially—rebuild the background texture behind it. Best of all, it's free to try with 25 daily generations.
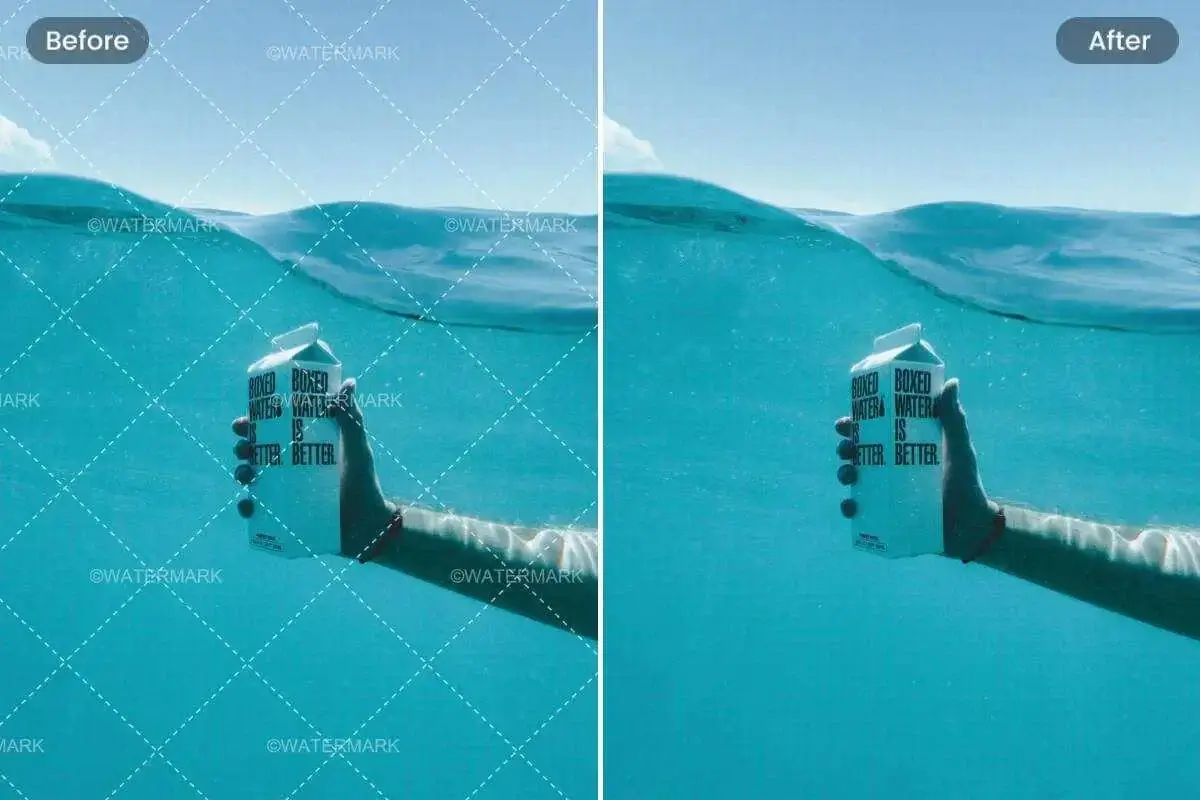
🚀 Why use this app to remove watermark?
- No blurring: Unlike older tools, our AI regenerates pixels (wood, sky, skin).
- High Quality: Export in HD without adding a new watermark.
- Free: Get professional results without a paid subscription.
How to remove a watermark in Sinaï Studio
Follow these simple steps. The app offers three powerful ways to remove watermark from image depending on complexity.
Method 1: The Fast Eraser (Best for Text)
If the watermark is simple text on a solid background, use the Eraser.
- Open Sinaï Studio and import your picture.
- Tap Eraser tool.
- Brush over the logo. The AI will instantly erase watermark and fill the gap.
- Save your clean image.
Method 2: AI Inpainting (Best for Complex Backgrounds)
If the watermark covers a face or detailed texture, the Inpainting tool is your best friend. It acts like a smart watermark remover online but runs locally on your phone.
- Tap Inpainting.
- Draw a mask precisely over the watermark.
- Type a prompt like "clean background" or just leave it empty.
- Tap Apply. The AI understands context and will remove the obstruction while keeping the underlying details intact.
Method 3: Image-to-Image (Best for Large Reconstruction)
For giant watermarks, use Image-to-Image. Describe the clean scene (e.g., "A photo of a sunset over the ocean") and let the AI regenerate the entire vibe without the text overlay.
Pro Tips for Watermark Removal
- Zoom In: The more precise your selection, the better the AI can identify what to remove.
- Multiple Passes: If a shadow remains, do a quick second pass with the Eraser.
- Upscale: Use the built-in Upscaler after removing the watermark to ensure the edited area stays sharp.
Important Note: Is it legal to remove watermarks?
While having an app to remove watermark is powerful, you must use it responsibly. Watermarks exist to protect copyright.
You should ONLY remove watermarks if:
- You own the original photo (e.g., recovering an old file).
- You have written permission from the copyright holder.
- You bought a license that allows modification but lost the clean file.
Do not remove watermarks from stock photos you haven't purchased or art that isn't yours. This guide is for cleaning your own assets.